Magneto Disassembly
Christopher Edwards
Disassembling an Aircraft Magneto Switch: Studying the Real Mechanism
Flight Simulator Project Journal — Engineering Build Log
Build Log Entry: September 2026 Project: Cessna 172 Flight Simulator Controls Focus: Aircraft Magneto Switch Mechanical Investigation
Why Take Apart a Real Magneto Switch?
One of the goals of this simulator project is to reproduce more than the appearance of a Cessna 172 cockpit. The controls should also feel familiar to someone who has spent time in an actual aircraft.
The magneto/start switch is a good example.
My initial simulator version was designed to reproduce the basic positions and spring-loaded START function. It worked, but the mechanical behavior was still very much that of a custom simulator control rather than an aircraft component.
Rather than trying to guess what needed to change, I wanted to understand how the real hardware was constructed.
That meant taking apart an actual aircraft magneto switch.
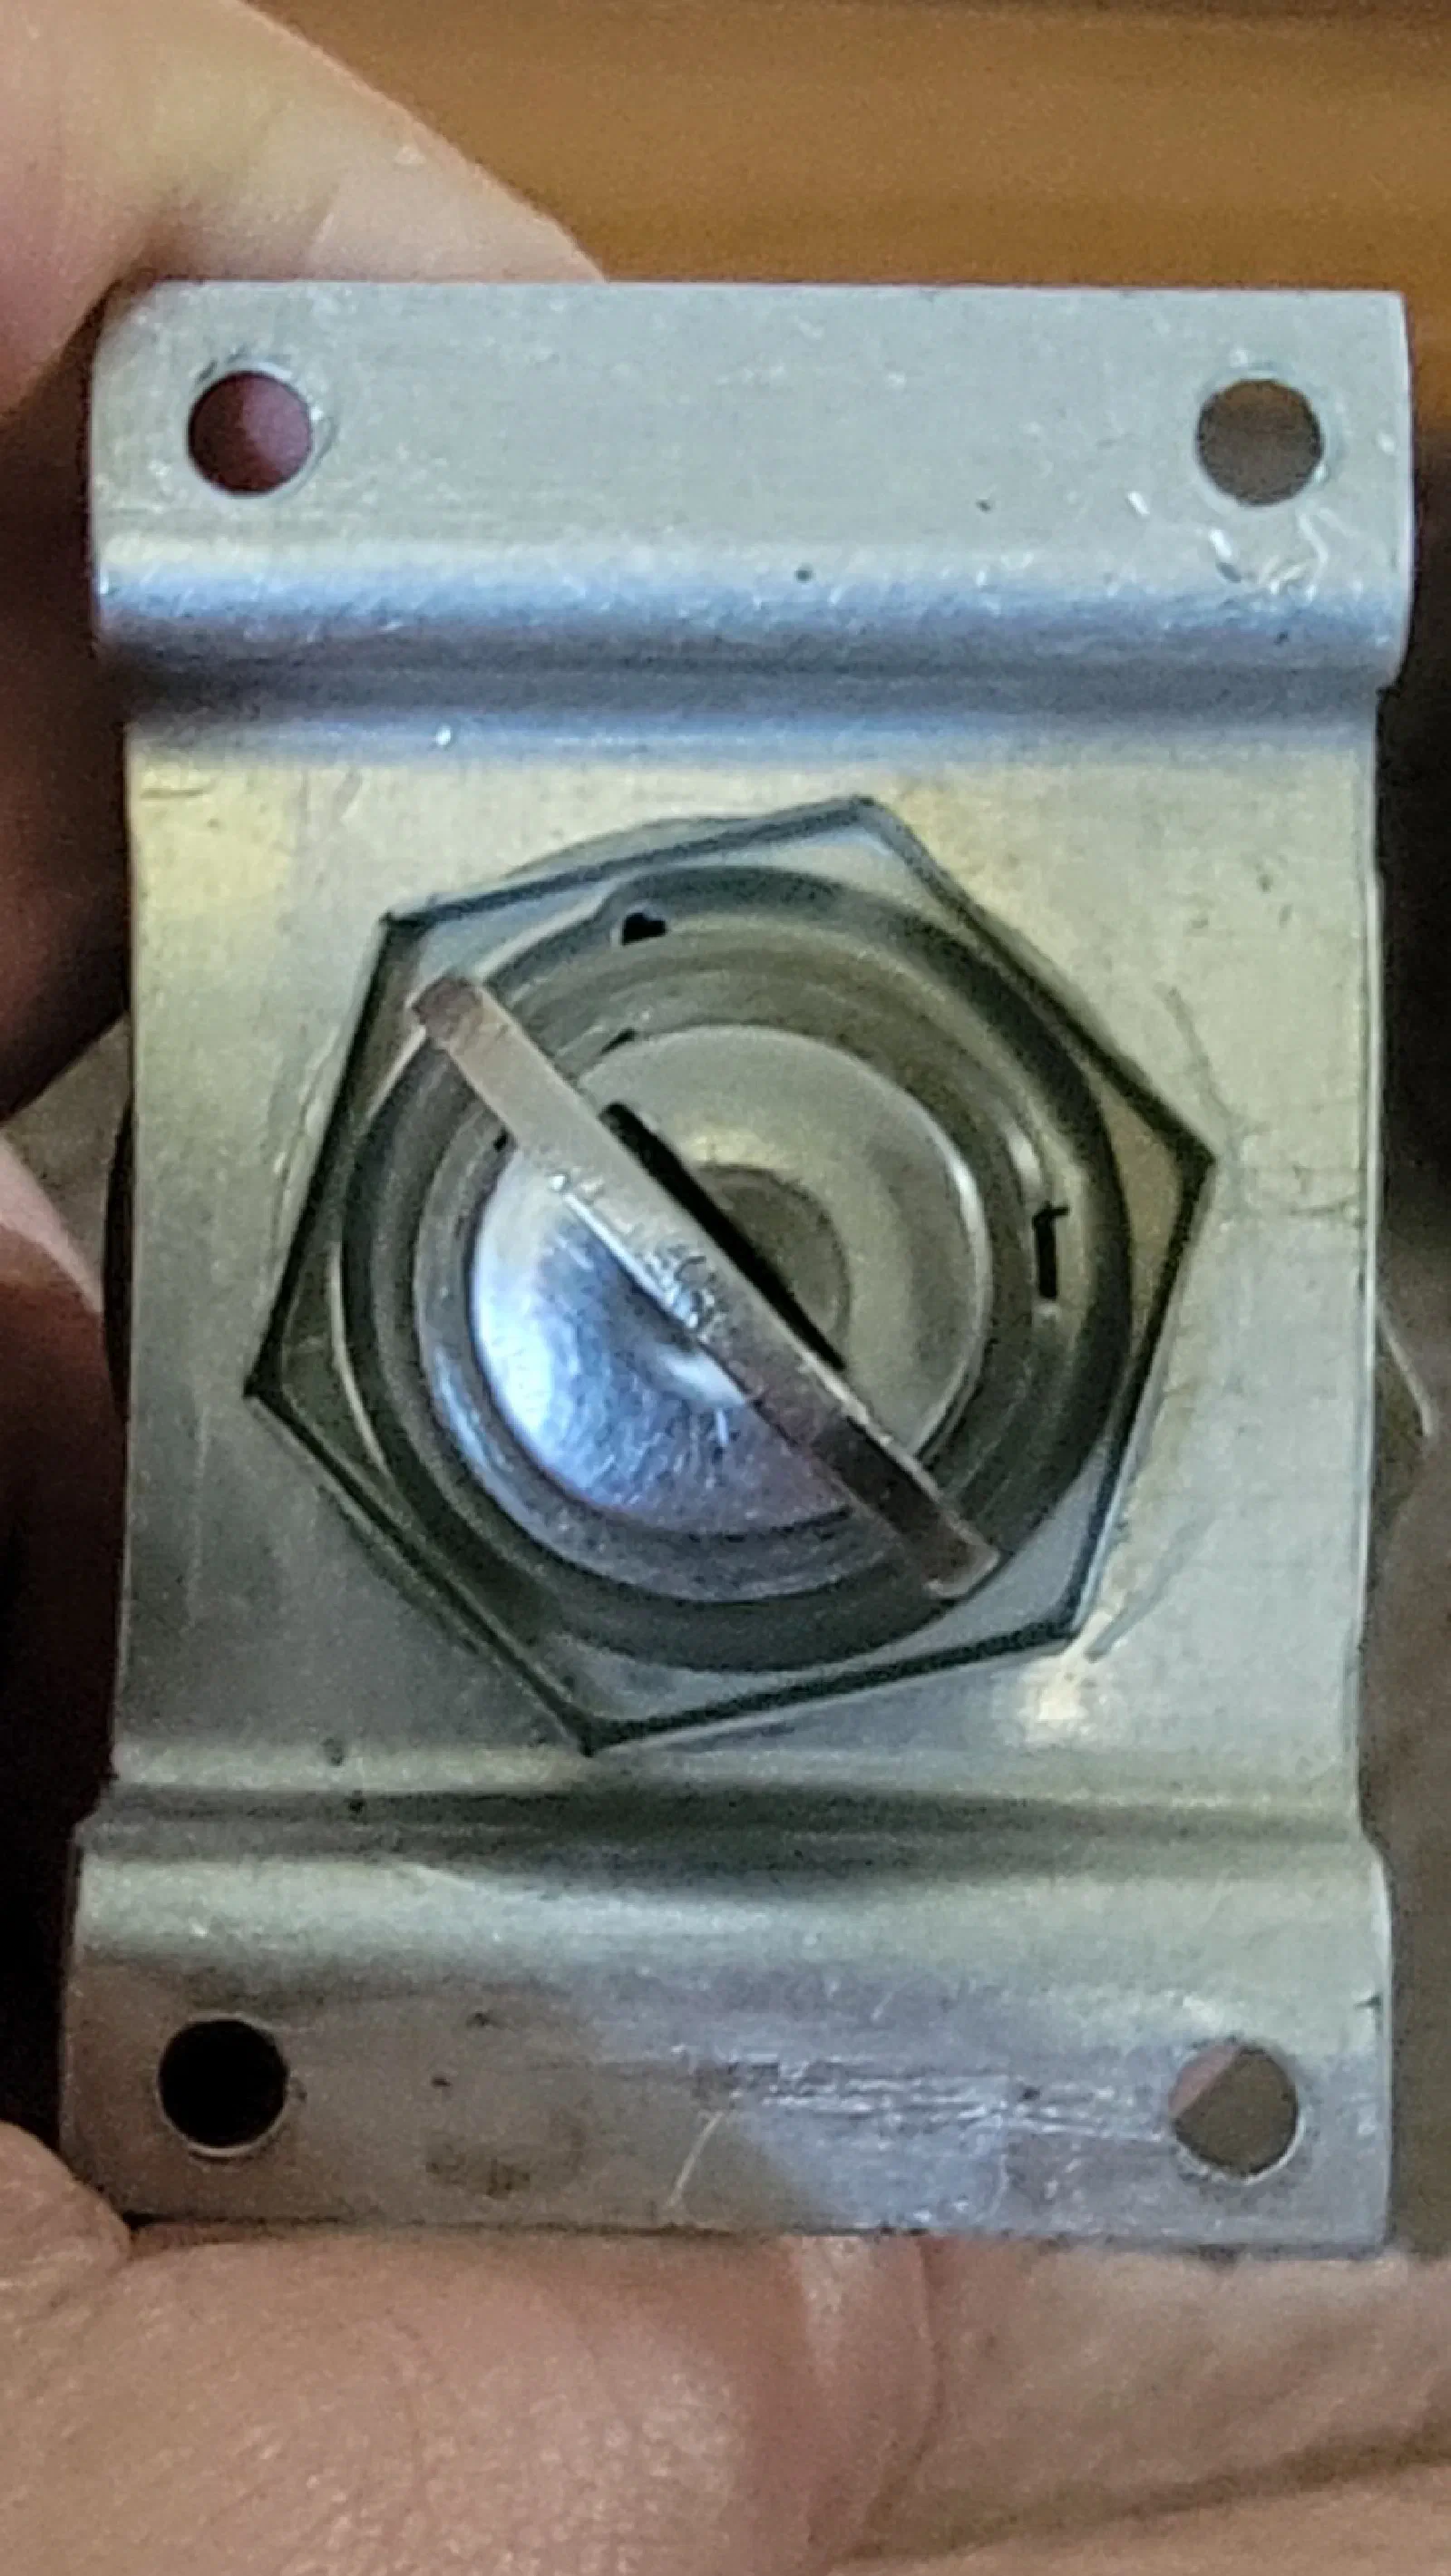
The aircraft magneto switch used for the mechanical investigation.
The goal wasn’t to create an exact copy of the switch. Instead, I wanted to answer some practical questions:
- How are the switch positions mechanically defined?
- What creates the feel of the detents?
- How is the START position spring-loaded?
- What limits the rotation?
- How is the electrical switch mechanism coupled to the key?
- Which parts are responsible for the mechanical feel?
- Which characteristics are worth reproducing in the simulator?
Starting Point: The Simulator Switch
The original simulator magneto was developed as part of the first generation of aircraft-style controls.
The switch needed to provide the familiar sequence:
OFF → RIGHT → LEFT → BOTH → START
The START position is different from the others because it is momentary. The switch needs to return from START toward BOTH when released.
For the prototype, I designed the external hardware in Fusion 360 and used readily available electrical components for the switching function.
The original simulator magneto assembly.
The basic operation was successful, but there were several areas where the mechanism could be improved.
The biggest question was how much of the distinctive feel of the real switch came from the electrical switch itself and how much came from the mechanical mechanism surrounding it.
That made the real switch worth investigating.
The Real Hardware
Before disassembly, I documented the switch as completely as possible.
Exterior views of the aircraft magneto switch.
The external construction immediately provided some useful information.
The switch isn’t simply a rotary electrical switch with a key attached. The mechanical design is an important part of the user interface.
The key and shaft provide the interface for the pilot, while the internal mechanism establishes the positions and controls how the switch moves between them.
This distinction became important as the teardown progressed.
Disassembly
The switch was carefully disassembled to expose the internal mechanism.
[IMAGE PLACEHOLDER — Switch partially disassembled] Beginning the disassembly and documenting the component arrangement.
One of the priorities during disassembly was documenting the orientation of each component.
Small mechanical details that appear insignificant during disassembly can turn out to be responsible for the entire feel of the control.
Internal components arranged in approximately the order of assembly.
I photographed the components as they came apart rather than relying entirely on memory.
This also provides a useful reference if I later want to reproduce a particular mechanical feature in the simulator.
Inside the Switch
The internal mechanism revealed a much more deliberate mechanical design than the external appearance suggests.
Close-up of the mechanical switching and detent mechanism.
Several features were particularly interesting from a simulator-design perspective.
Positioning and Detents
The switch has defined positions rather than simply allowing unrestricted rotation.
The resistance and transition between positions are part of the physical interface.
For a simulator, this matters because simply connecting a knob to a rotary encoder or electrical switch doesn’t automatically reproduce that experience.
The pilot should be able to rotate the control and feel the individual positions.
Detail of the mechanism responsible for positioning the switch.
This suggests that the simulator mechanism should have its own positive mechanical detents rather than depending entirely on the electrical switch for positioning.
The START Position
The START position was one of the most interesting parts of the investigation.
Unlike OFF, RIGHT, LEFT, and BOTH, START isn’t intended to remain in position.
It is a spring-loaded position.
Turning the switch into START requires overcoming the spring force. When the key is released, the mechanism returns toward the normal operating position.
That behavior is an important part of the control’s tactile feedback.
For the simulator, reproducing the electrical state is relatively easy. Reproducing the mechanical behavior is more interesting.
The mechanism needs to provide:
- A positive BOTH position.
- Additional rotation into START.
- Increasing resistance as START is reached.
- A clear spring-loaded return.
- A controlled return to the normal position.
These are mechanical behaviors rather than software behaviors.
What the Teardown Changed
The teardown changed how I was thinking about the simulator magneto.
My initial approach treated the magneto primarily as an electrical input device with an aircraft-style exterior.
The real switch demonstrated that the mechanical interface deserves to be treated as its own subsystem.
Instead of thinking:
Key → electrical switch → simulator
the design can be thought of as:
Key → mechanical mechanism → electrical interface → simulator
That separation provides much more flexibility.
The mechanical assembly can be designed specifically around the desired pilot interaction, while the electrical portion can use whatever interface makes sense for the simulator hardware.
Applying the Lessons to the Simulator
The next version of the simulator magneto will incorporate several of the observations from the teardown.
Mechanical Detents
The switch positions should have distinct mechanical detents rather than relying solely on the electrical switch.
Spring-Loaded START
START should have a dedicated return mechanism so the key naturally returns when released.
Controlled Rotation
Mechanical stops should define the usable rotation and prevent the switch from being rotated beyond the intended positions.
Independent Electrical Interface
The mechanical design should not be constrained by the exact electrical switch used during prototyping.
This is particularly useful as the project moves from hobby-grade prototype electronics toward custom hardware.
Early concept for incorporating the teardown observations into the simulator design.
What I Wouldn’t Copy
The purpose of examining the real switch isn’t to reproduce every component exactly.
Aircraft hardware has constraints that don’t necessarily apply to a simulator.
There is no need to reproduce an internal mechanism simply because the aircraft uses it.
Instead, I’m interested in identifying the functional characteristics that affect the pilot’s interaction with the control.
For example:
- The exact internal geometry isn’t necessarily important.
- The exact materials aren’t necessarily important.
- The exact electrical implementation isn’t necessarily important.
What is important is the resulting interaction:
Where the switch stops. How much force it takes to move. How each position feels. How START behaves. How the switch returns when released.
Those are the characteristics that can make a simulator control feel familiar.
Lessons Learned
This teardown reinforced an important principle for the simulator project:
Don’t copy the component. Understand the interface.
A simulator control doesn’t necessarily need to be an exact replica of the aircraft hardware.
It needs to reproduce the aspects of the control that matter to the person using it.
For the magneto, that means the next revision will focus more heavily on the mechanical experience of operating the switch.
The investigation also demonstrated the value of using real aircraft hardware as a design reference. CAD models and photographs can reproduce dimensions and appearance, but taking a component apart reveals details that aren’t obvious from the outside.
Next Revision
The next step is to take these observations back into Fusion 360 and develop a revised simulator magneto mechanism.
The goals are straightforward:
- Positive OFF, RIGHT, LEFT, and BOTH positions
- Spring-loaded START
- Controlled mechanical rotation
- Improved tactile feedback
- Replaceable electrical interface
- Construction suitable for 3D printing and hobby-grade prototyping
The first version proved that the basic concept worked.
This teardown provides a better understanding of why the real control feels the way it does.
The next version will attempt to reproduce those characteristics rather than simply reproduce the appearance.
Build Log Status
Status: Mechanical investigation complete Current focus: Revised magneto mechanism Design tool: Fusion 360 Prototype hardware: Hobby-grade components Next step: Prototype and evaluate revised mechanical design
Related Build Logs
- Aircraft-Style Switch Box — Developing the initial aircraft-style switches and magneto.
- Cessna 172 Panel Prototype — Building the initial six-pack and avionics panel.
- Updating the C172 Panel — Refining the panel layout, G5 instruments, overlay, and wiring.
- TPM / Trim Controller — Developing the throttle, propeller, mixture, and trim controls.