Current State of the Build
Christopher Edwards
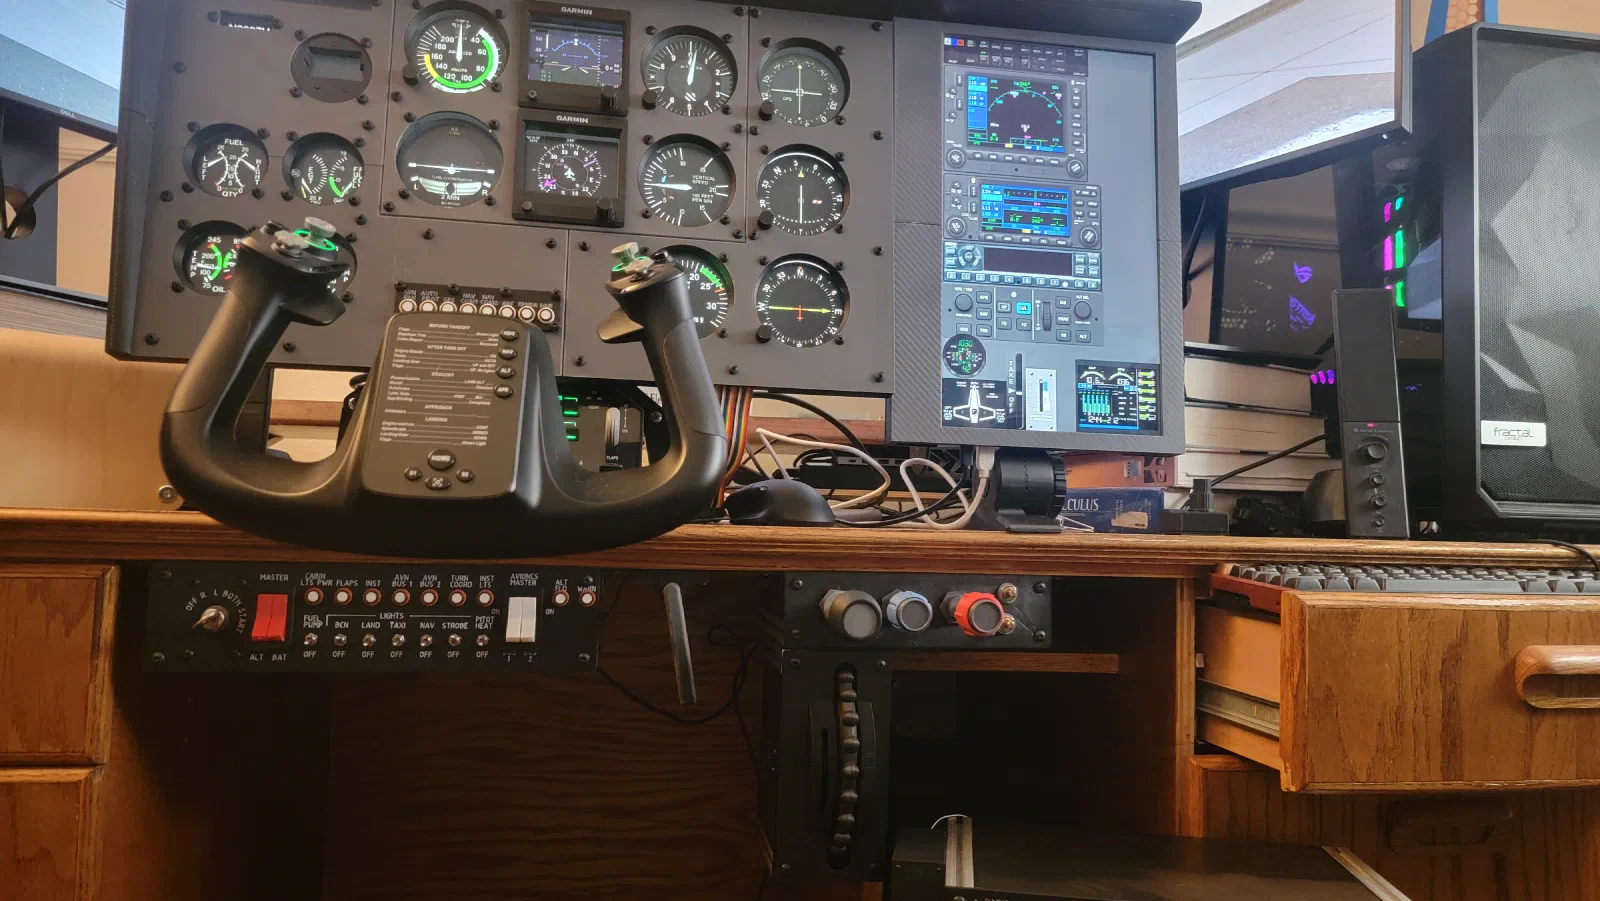
Simulator Build Log: Progress So Far
What started as a basic simulator setup has grown into a much more involved project. The goal has always been to build something that goes beyond simply adding controls to a simulator and instead recreates the layout, feel, and interaction of an actual aircraft cockpit.
The project has evolved through a series of individual components, with each build providing an opportunity to experiment with different mechanical and electrical approaches. At this point, the basic functionality of the full simulator is working, and the focus is beginning to shift from proving the concepts to refining the designs into the final product.
Initial Avionics Stack
The first major step was building an initial avionics stack around a touchscreen and Air Manager. The frame was designed to match the existing aircraft panel and provided a flexible way to experiment with different cockpit configurations.
This approach allowed the simulator to capture the majority of the controls needed to conduct a complete flight. It also provided a useful platform for determining which controls would eventually benefit from dedicated physical hardware.
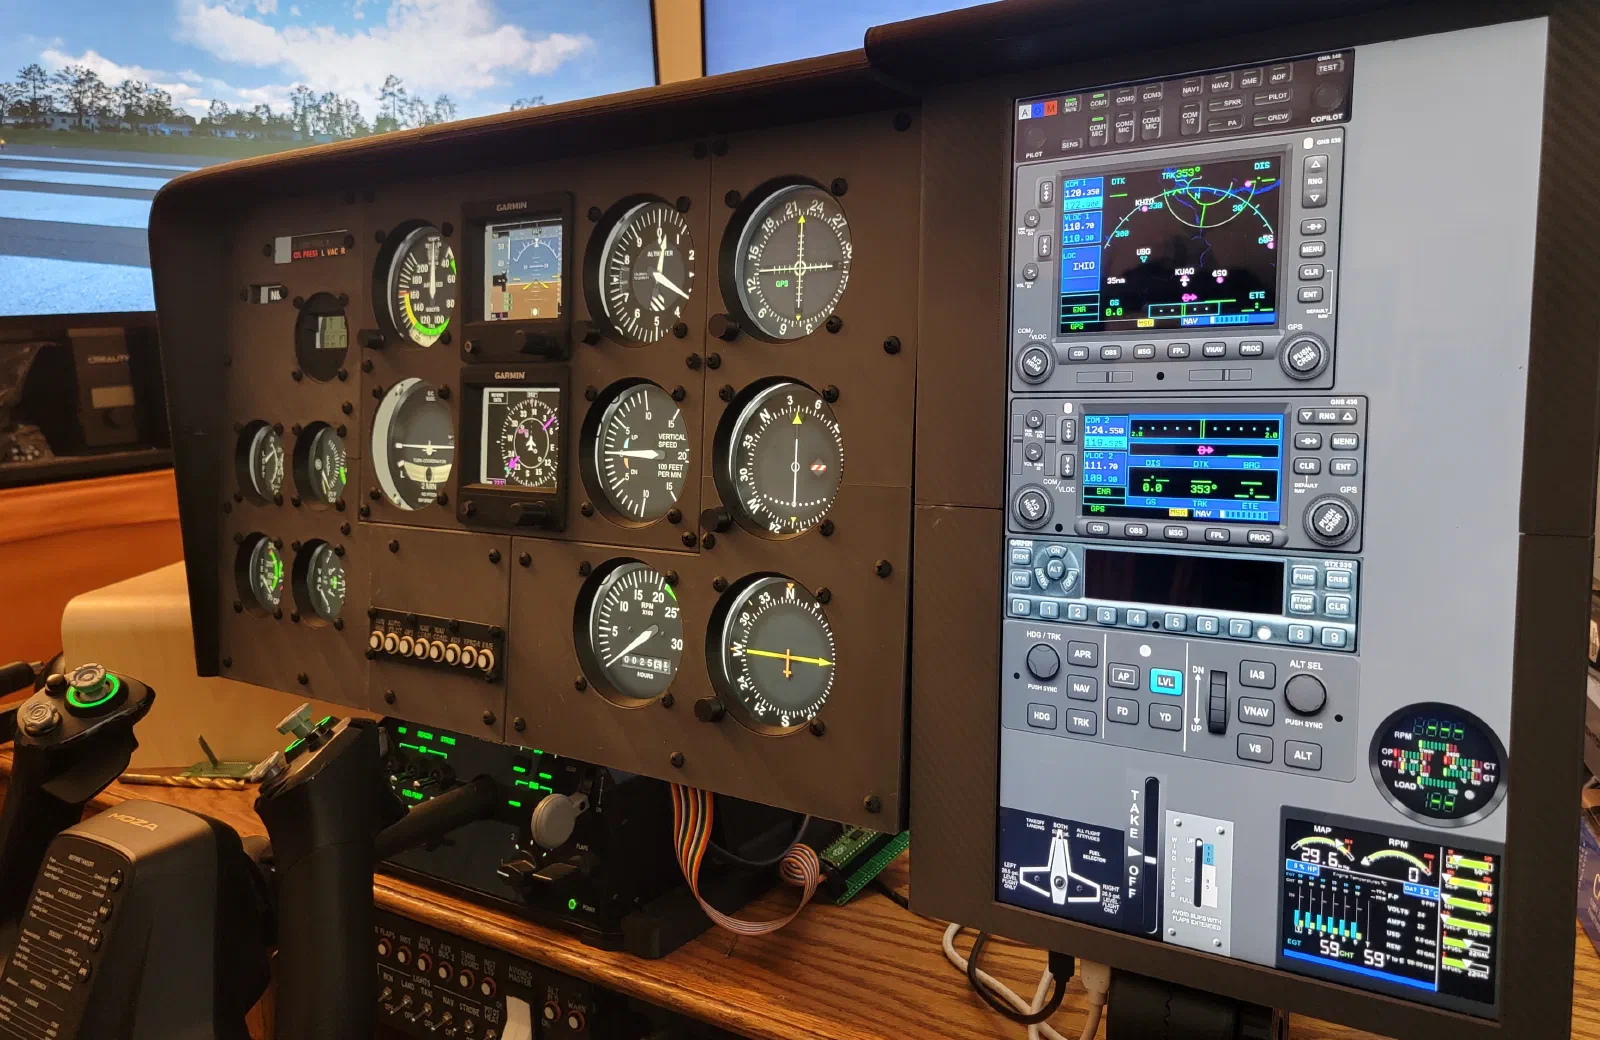
As the project progressed, the touchscreen controls increasingly became a starting point rather than the final solution. The goal became to replace the most important controls with physical components while maintaining the flexibility to change configurations as the simulator evolved.
GNS 530
The GNS 530 was one of the first avionics components to move from a simple breadboard implementation toward a dedicated hardware design.
The initial prototype used an Arduino Mega 2560 Pro Mini with Air Manager to establish the basic interface and determine how the controls would work. Once the concept was proven, the design moved toward a dedicated PCB containing the physical buttons and knobs.
The PCB is designed to be incorporated into an overlay for the GNS 530 while using a ribbon cable to connect back to a breakout board. This keeps the physical control assembly relatively self-contained while still providing flexibility during development.
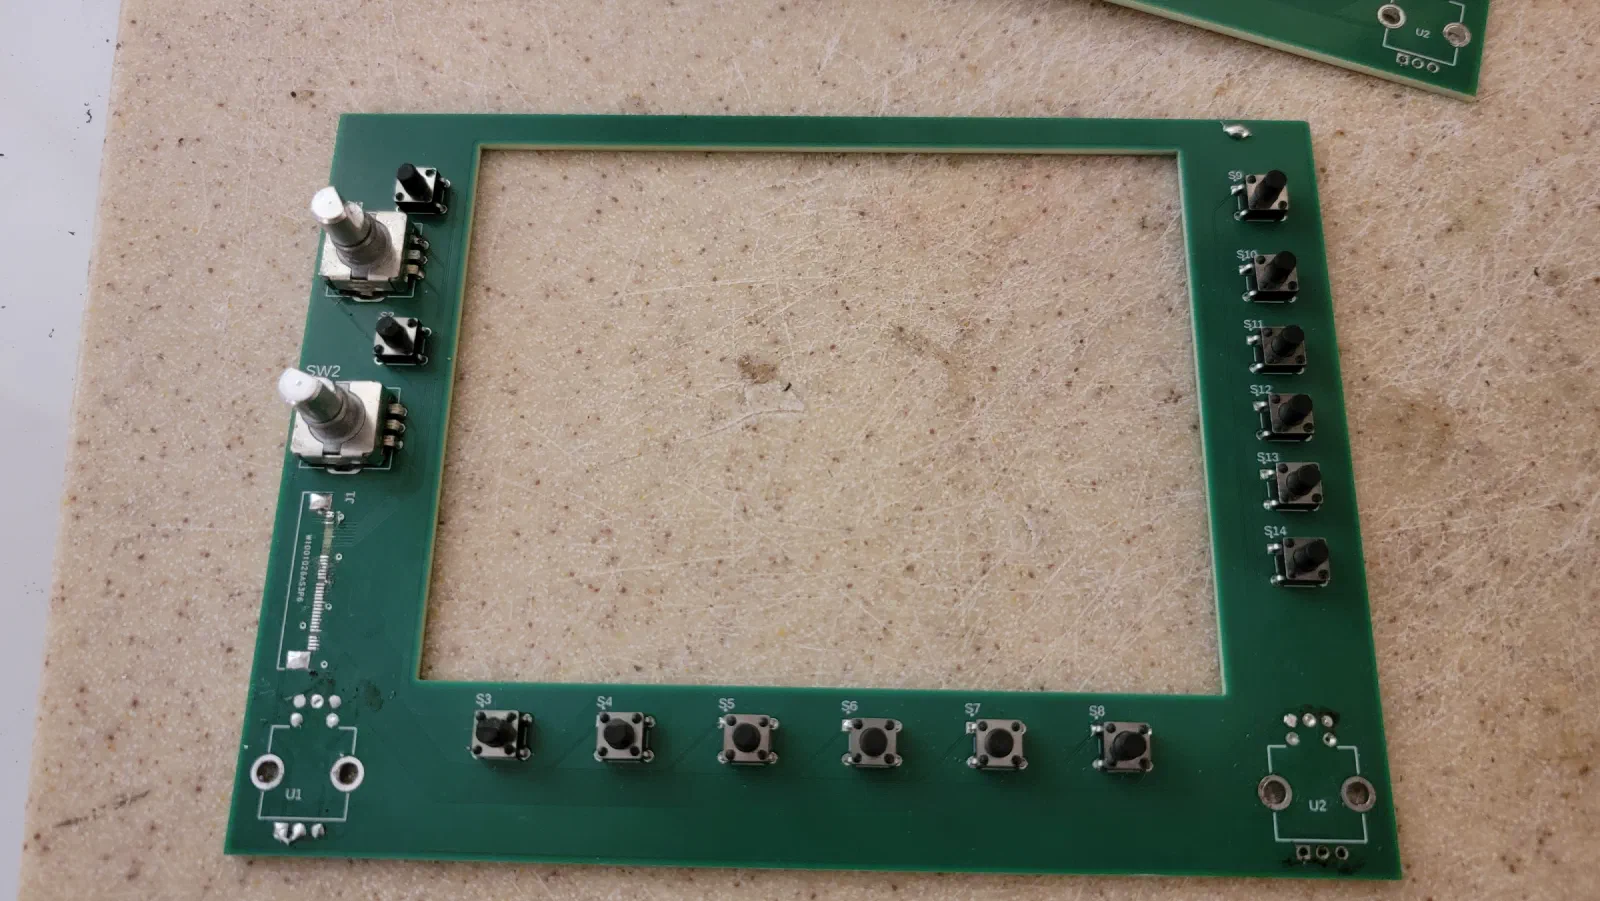
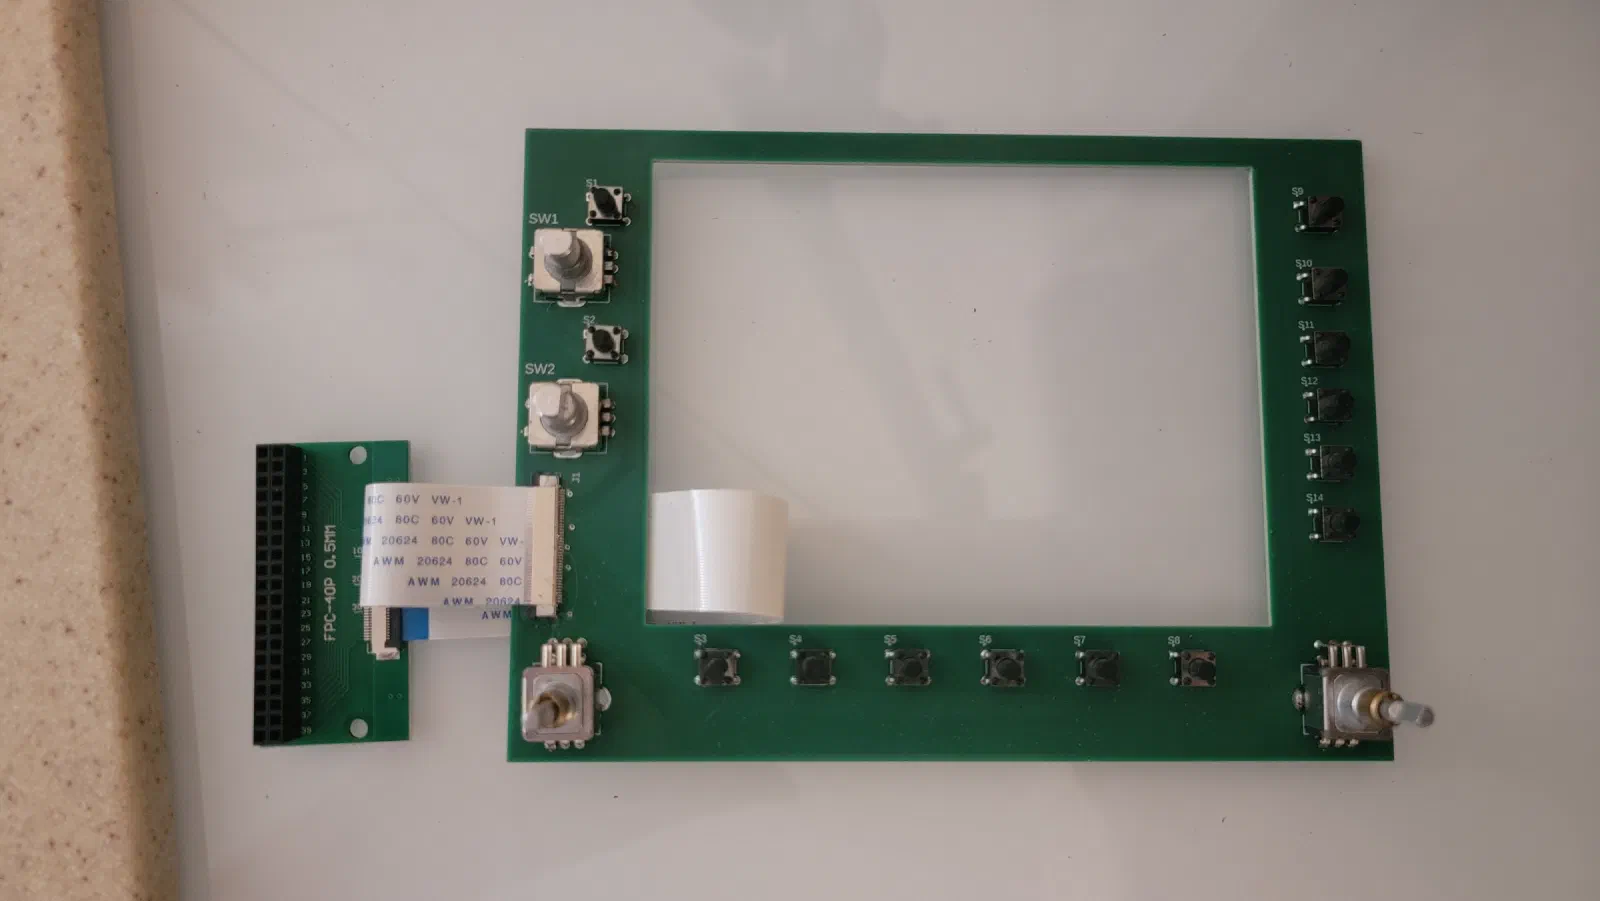
The interchangeable approach is becoming an important part of the overall design. Individual avionics components can be developed independently and then incorporated into the stack as the project progresses.
TPM Console
The TPM console expanded the project beyond avionics and into the aircraft’s primary engine and environmental controls.
The console includes the throttle, propeller, mixture, trim, and flap controls along with the various switches and controls needed to reproduce the look and interaction of the original panel.
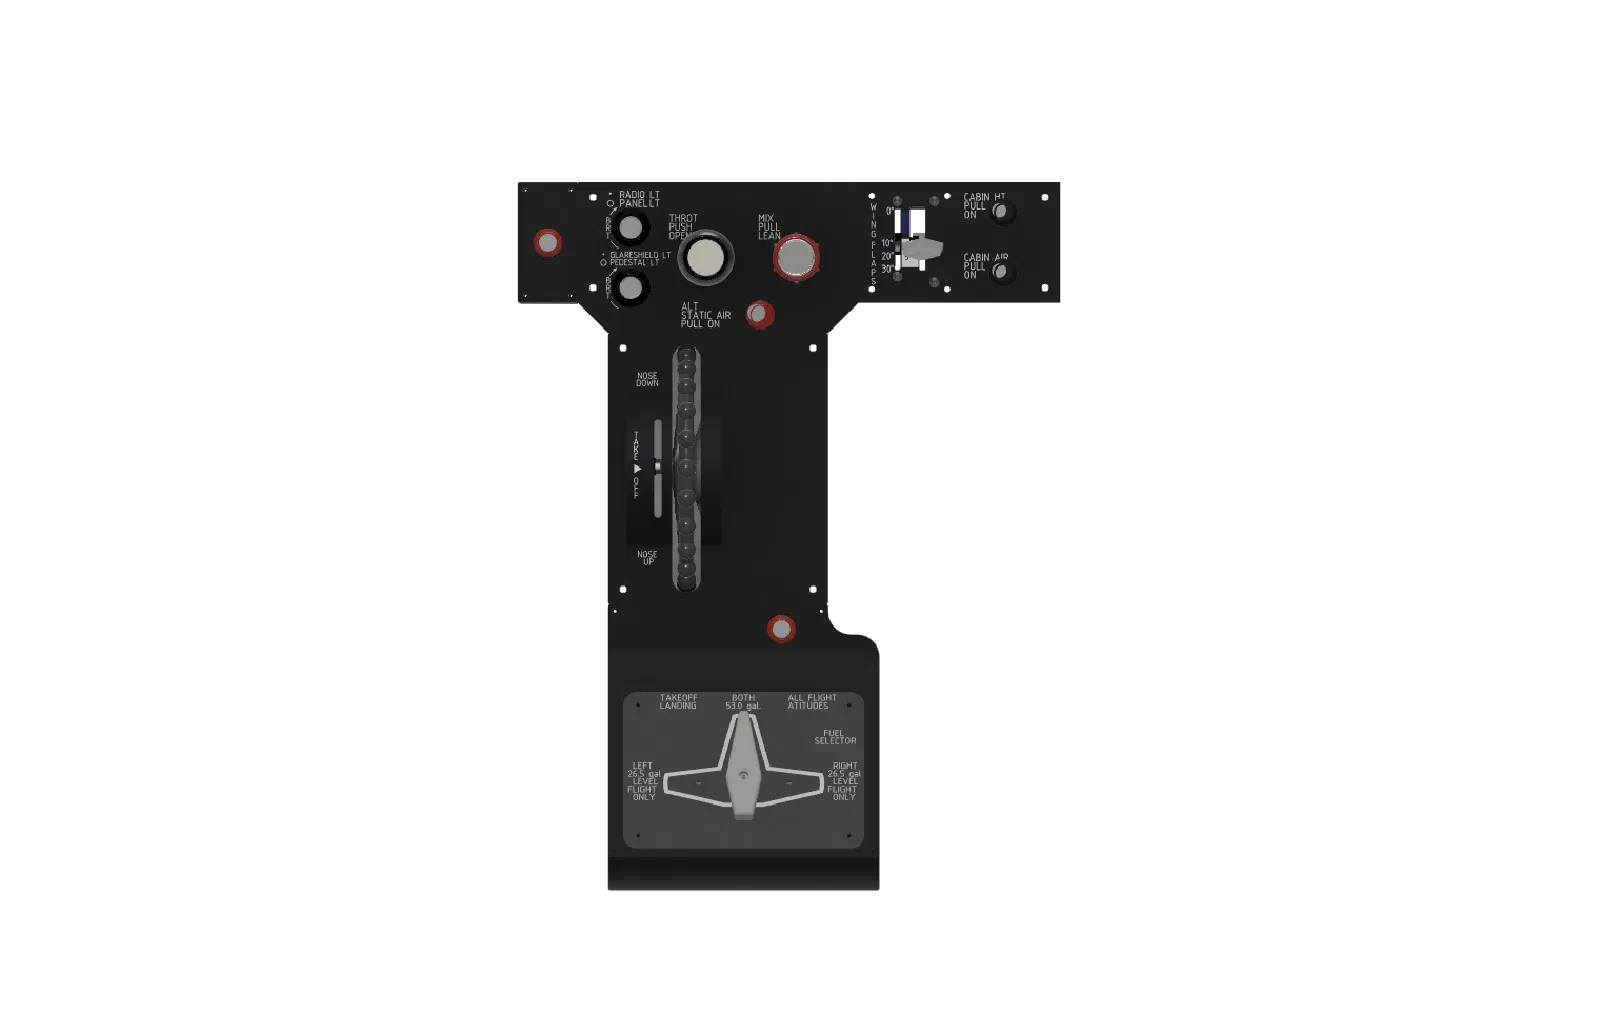
Servos have also been integrated with the flap and trim controls to provide physical position indication. This adds another layer of interaction between the simulator and the physical cockpit.
Some of the controls, such as the lighting, static air, cabin heat, and cabin air controls, do not currently provide significant functionality in the simulation. They are primarily intended to capture the look and feel of the aircraft, while also providing opportunities for future expansion as additional systems and components are developed.
The TPM console has also grown beyond the capabilities of the original ATmega32-based approach. As more functionality has been added, the controller hardware has become an increasingly important part of the design.
Flap Control
The flap control provided an opportunity to try a different approach to position sensing.
Rather than using a conventional potentiometer or rotary encoder, the prototype uses electrical contacts integrated into the surface along which the control arm travels. A wiper on the arm bridges the contacts as the control moves, allowing the controller to determine the flap position.
The arm also has lateral movement, allowing it to engage the appropriate contacts as it travels through its range.
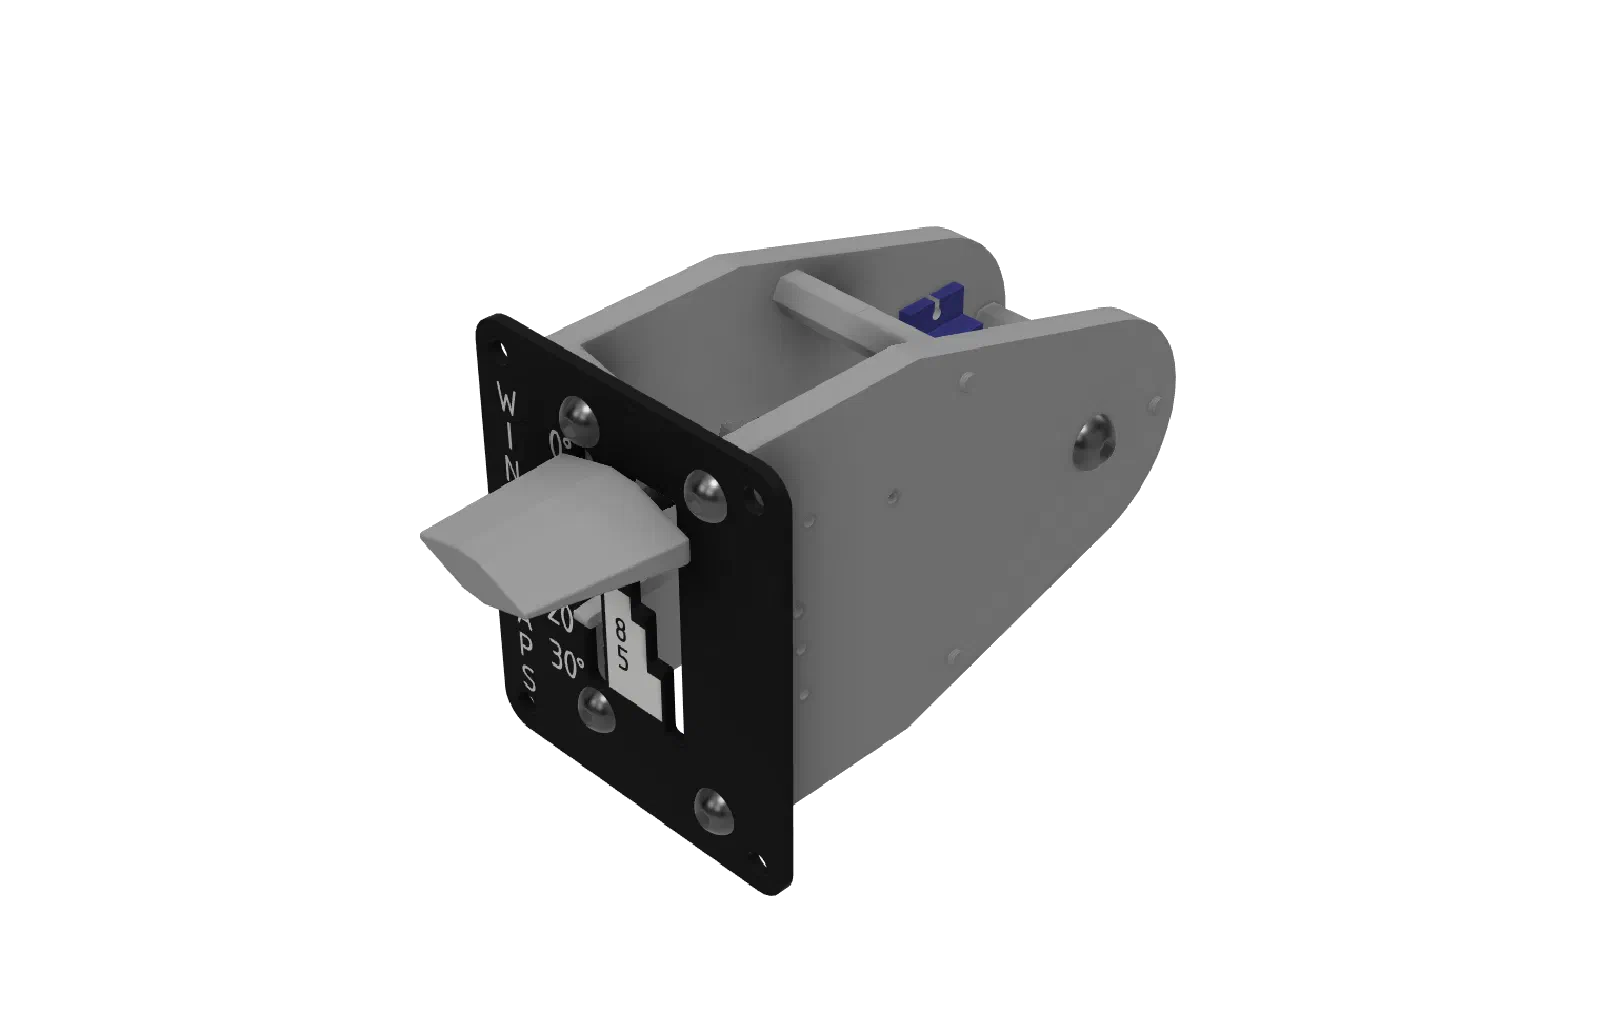
The first prototype used copper conductive tape to create the contact surfaces. This was useful for quickly testing the concept without committing to a custom circuit board.
With the basic concept proven, the next iteration can replace the conductive tape with a PCB containing the contact pattern. This should provide a more repeatable and durable implementation while retaining the same basic mechanical concept.
Fuel Selector
The fuel selector followed a much simpler design philosophy.
The selector uses three limit switches operated by a cam with mechanical detents. Each position produces a positive click while the switches provide the electrical position feedback.
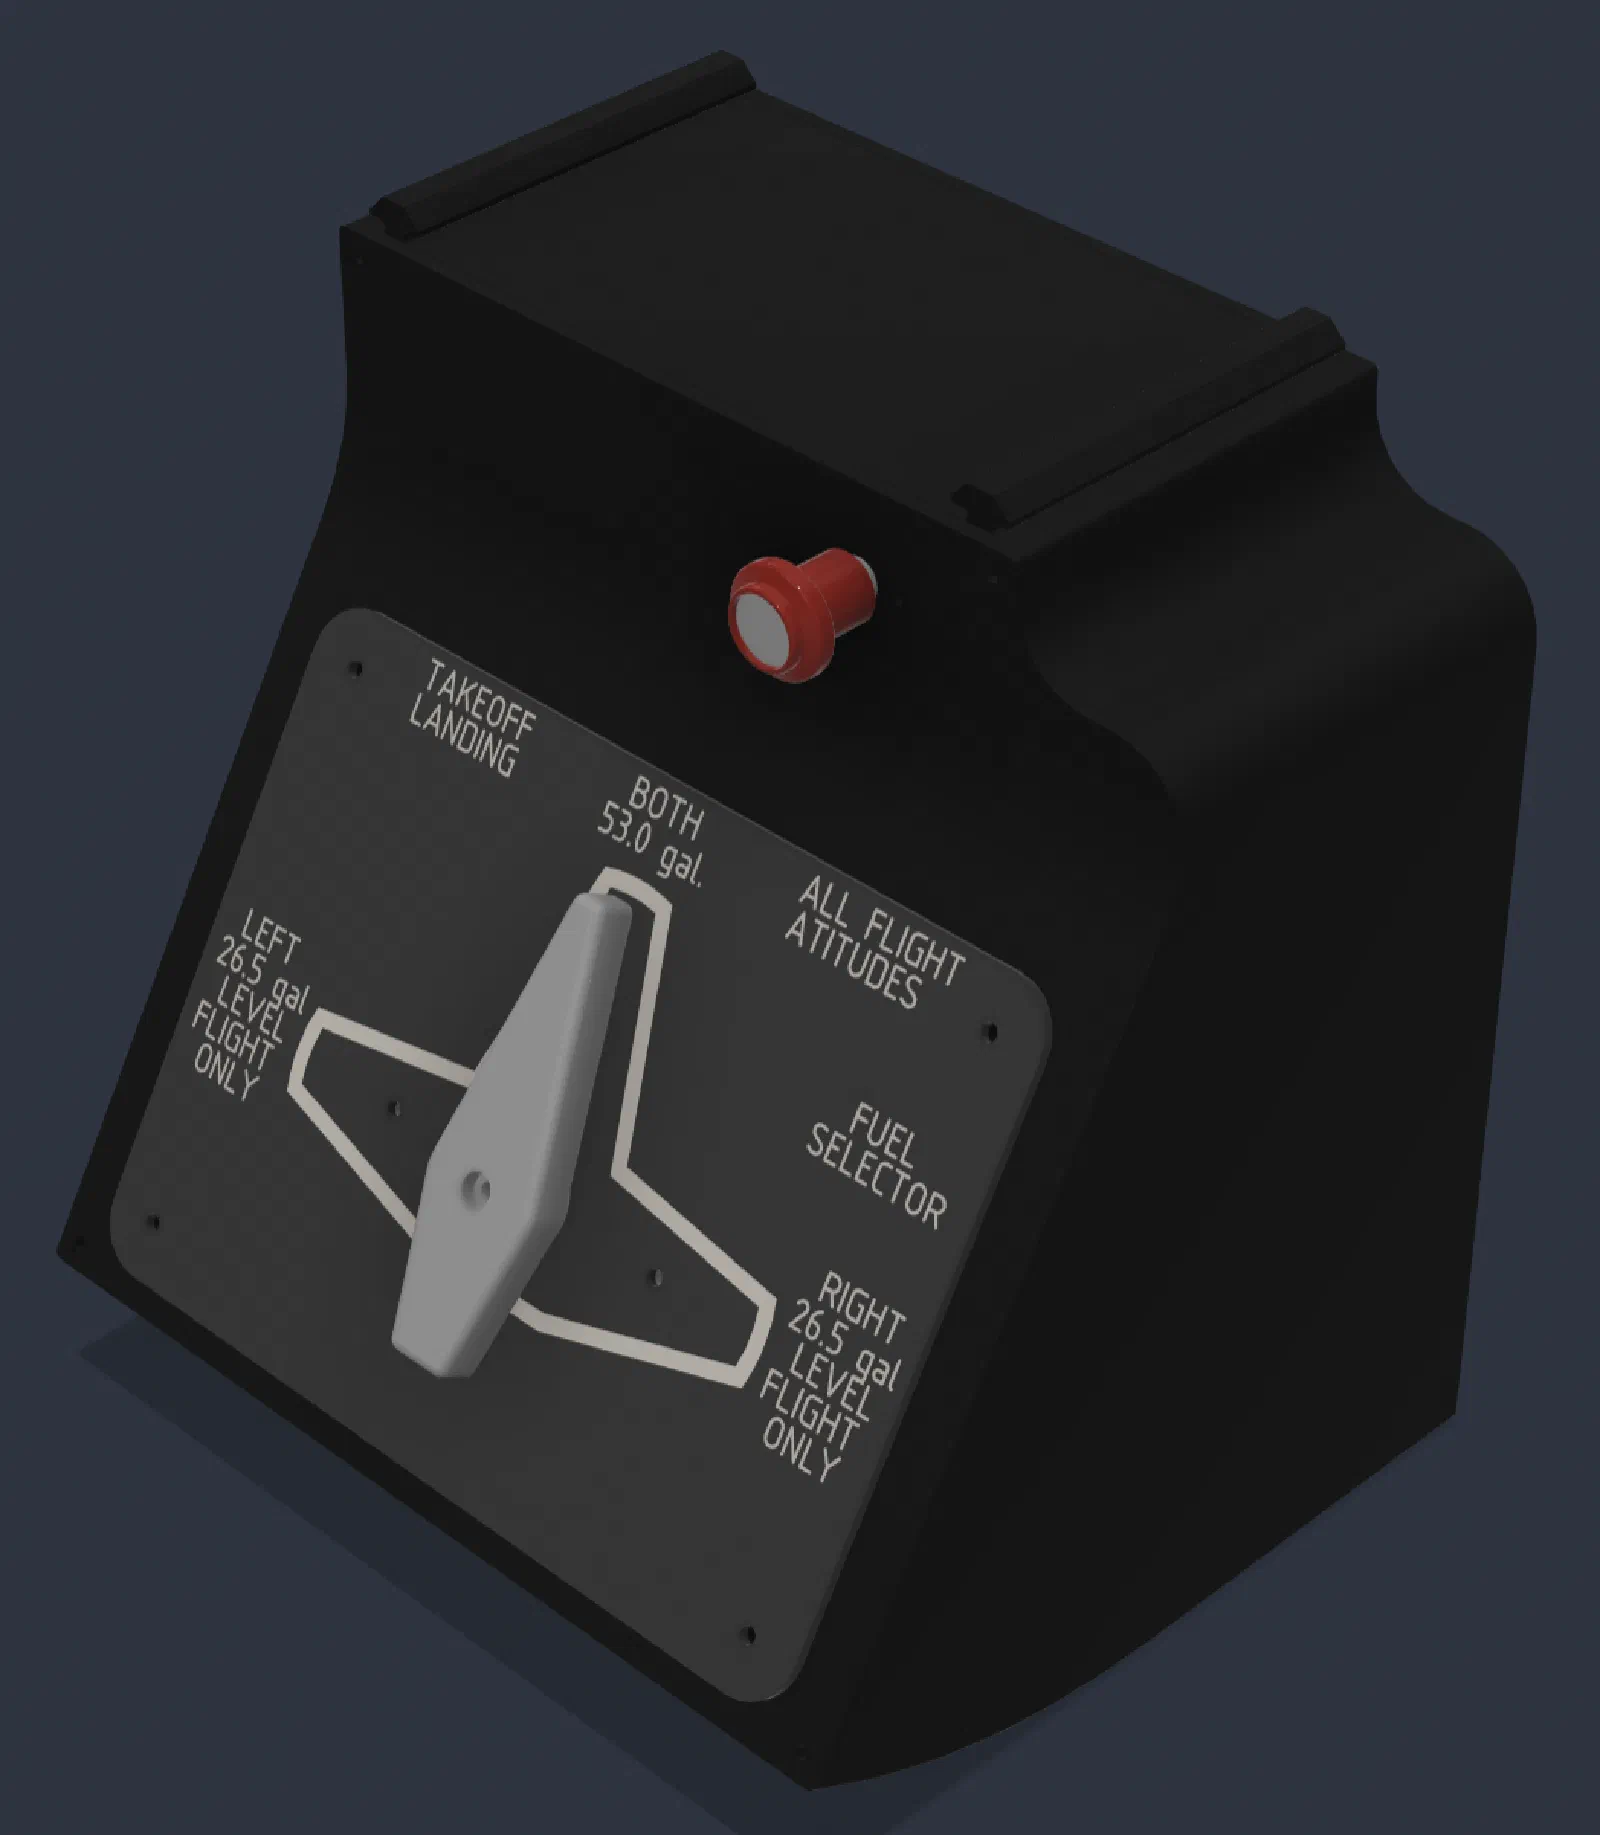
The design intentionally keeps the number of components low. Rather than building a complicated rotary mechanism, the cam converts the selector’s mechanical position directly into switch activation.
This has made the fuel selector relatively straightforward to build while still providing the physical interaction desired from the control.
Vernier Controls
The vernier controls introduced another set of mechanical challenges.
The design combines coarse and fine adjustment, with the fine adjustment provided by the vernier mechanism. A spring-loaded button allows the control to be released for coarse movement before returning to the fine-adjustment mode.

The first design exposed several weaknesses in the mechanical implementation. In particular, the tubing could kink when the shaft was extended, and the shaft could be damaged if it was bent while extended.
These problems helped identify areas where the next version needs to be stronger and more tolerant of handling.
The experience also reinforced one of the main themes of the project: getting a mechanism to work once is only the first step. The final design needs to survive repeated use while still providing the mechanical characteristics of the real control.
Switch Box
The switch box has continued to evolve alongside the rest of the cockpit.
The panel has been refined to improve the labeling and overall appearance, with particular attention being paid to the limitations of producing two-color graphics and text with a 3D printer.
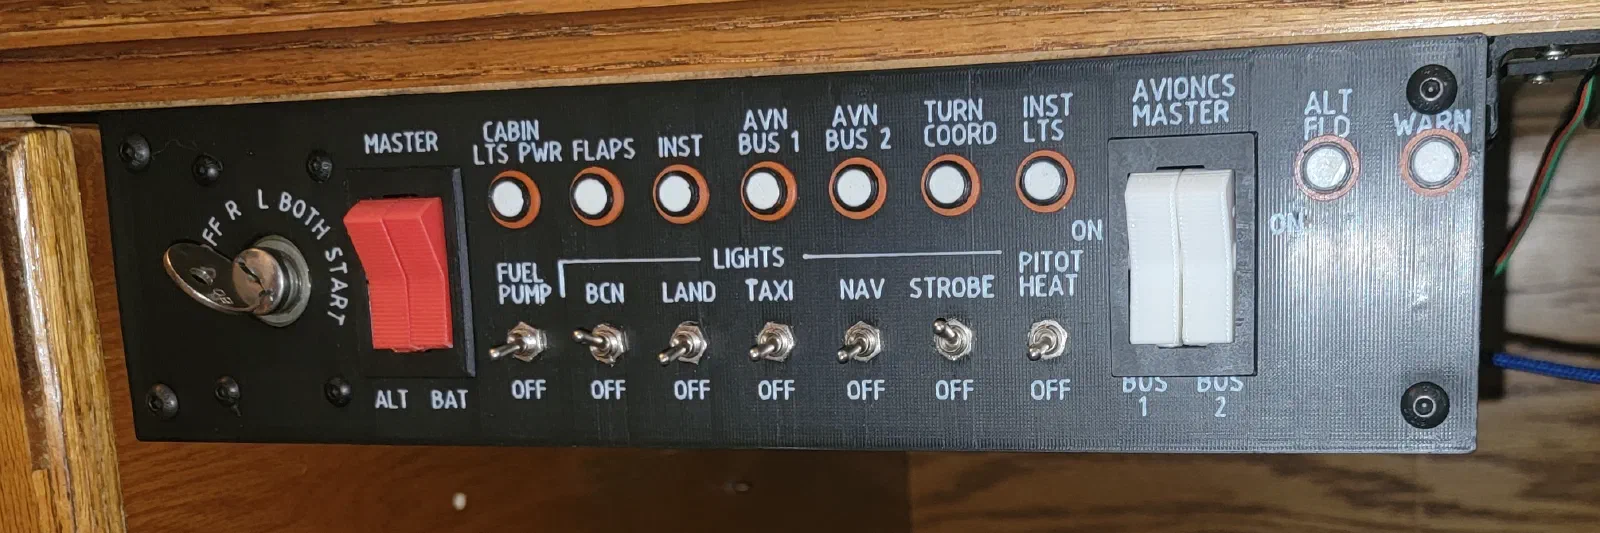
A parking brake was also added to the switch box. The mechanism uses multiple detents as the brake is pulled and requires the handle to be twisted to release it, similar to the operation of the control in a real aircraft.
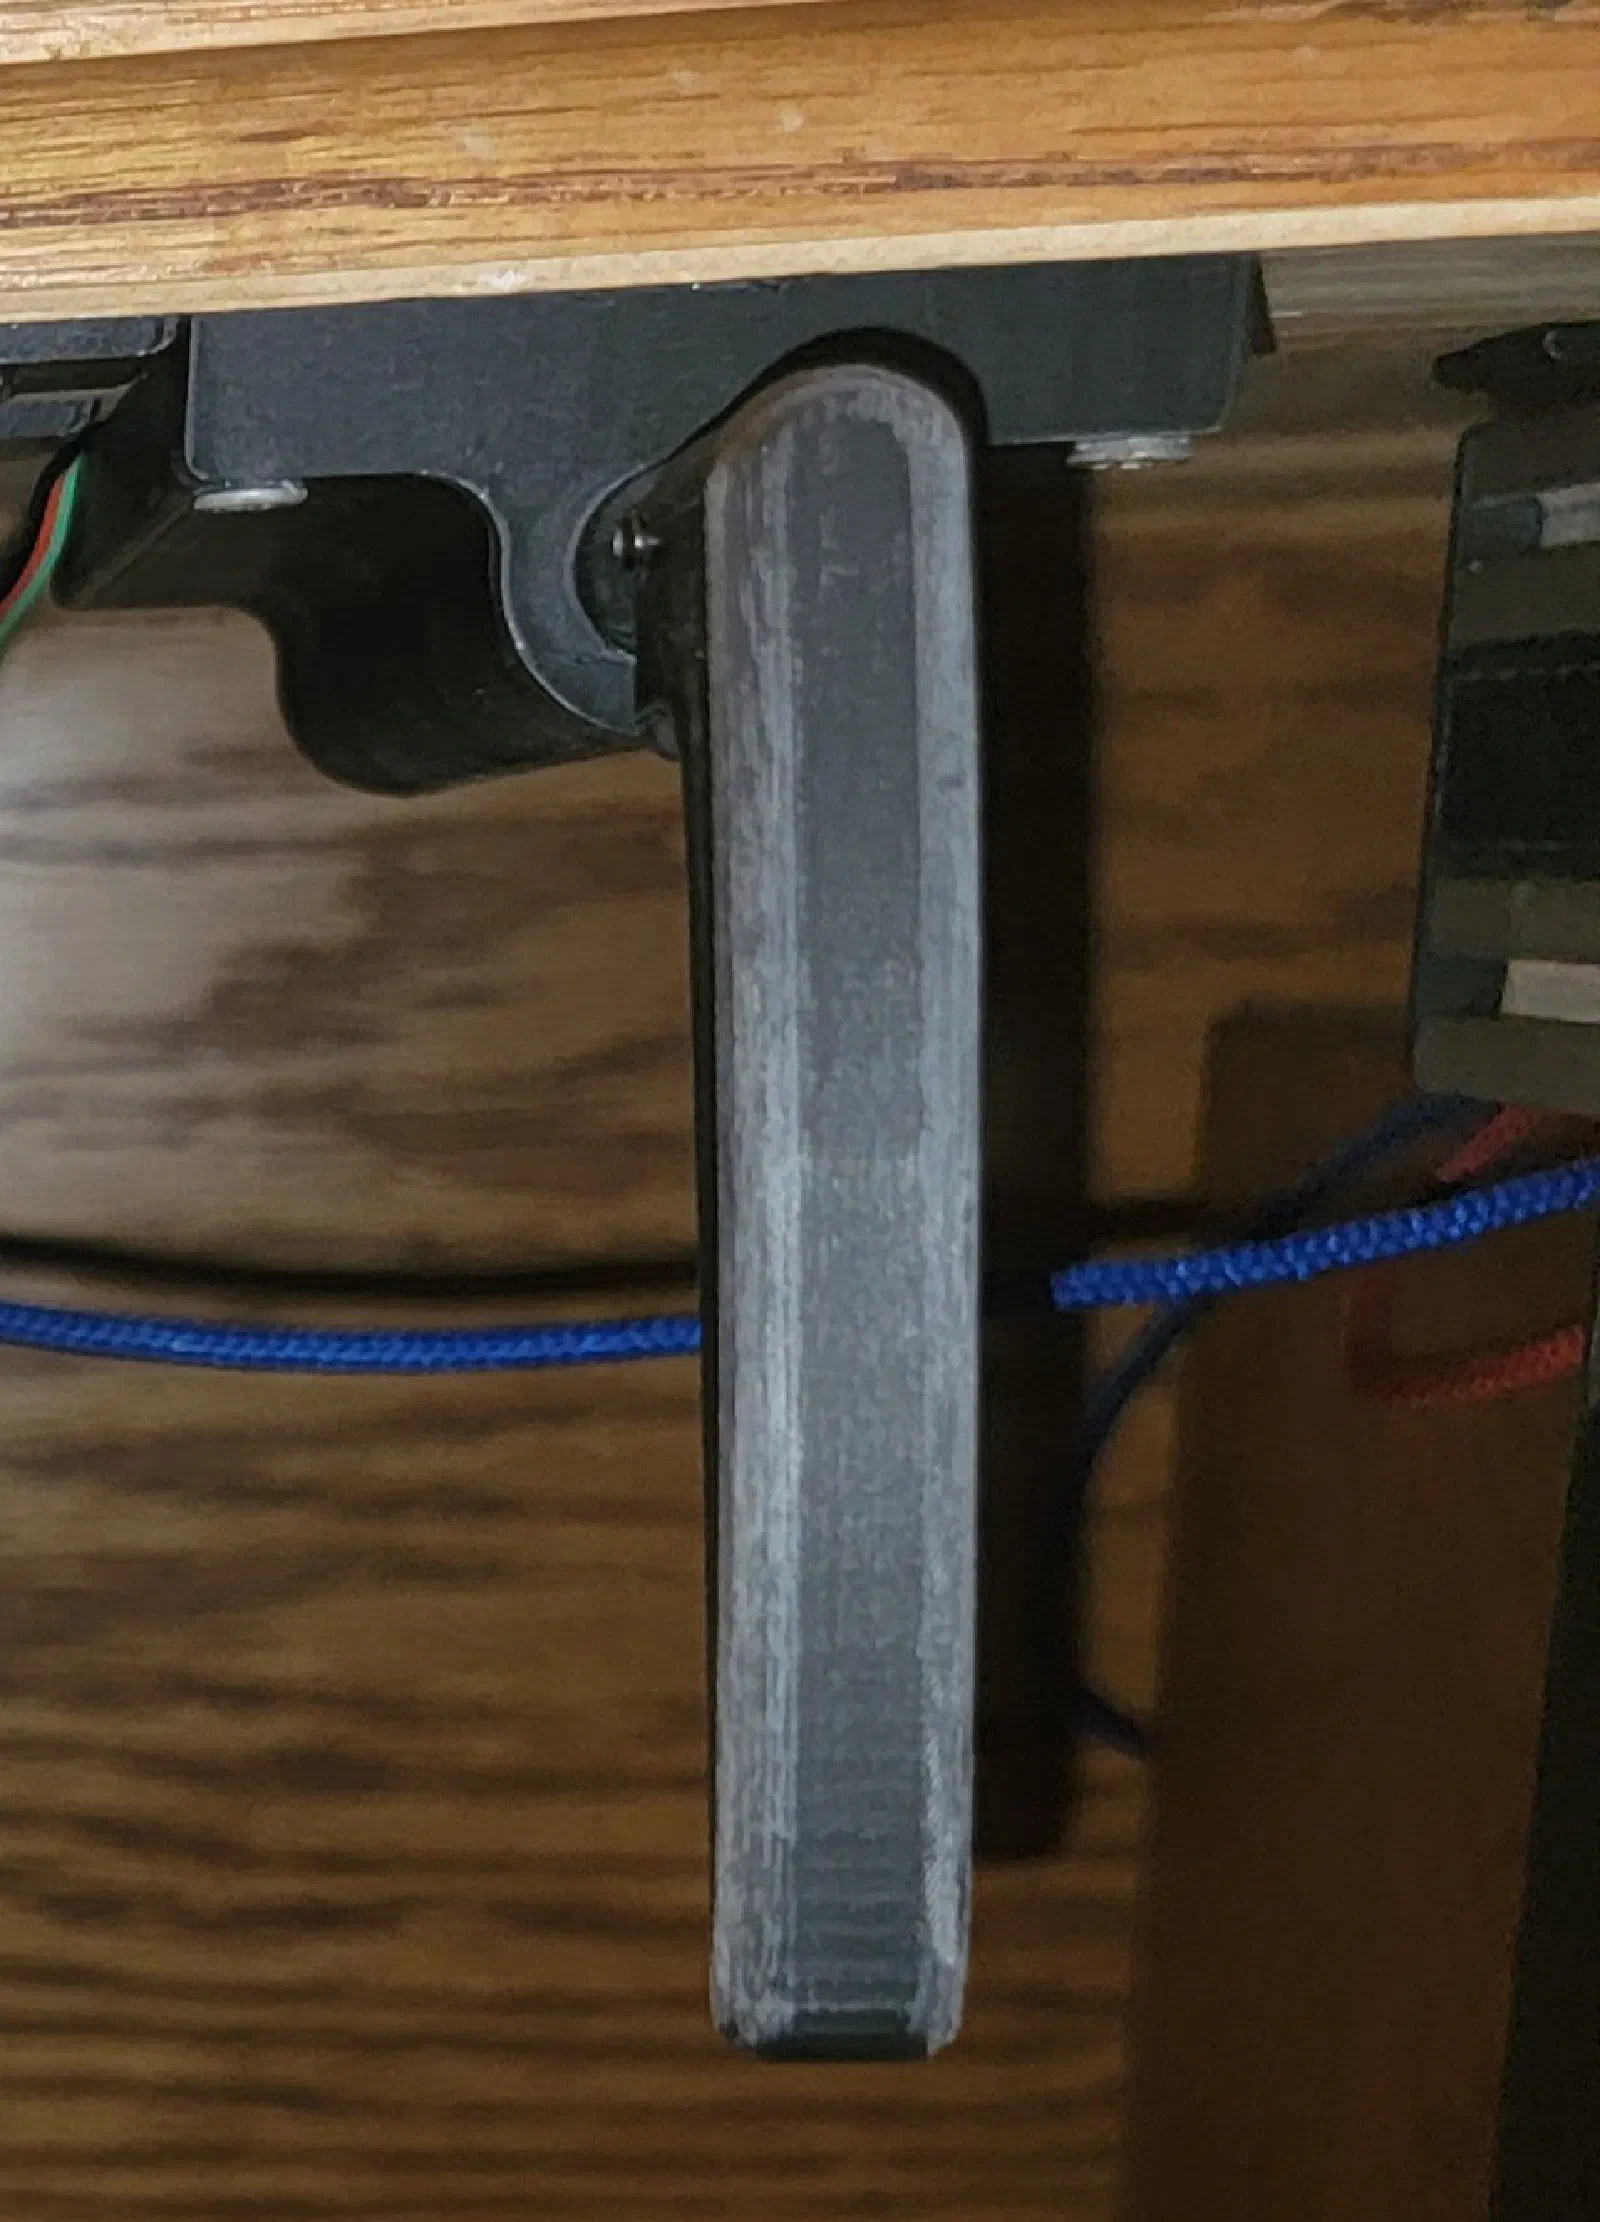
These details don’t necessarily add significant functionality to the simulator, but they make the physical cockpit considerably more convincing to operate.
From Prototype to Product
Looking back at the project so far, most of the work has been focused on answering basic engineering questions.
How should a control be sensed?
How can a mechanism reproduce the feel of the real aircraft?
What can be simplified without losing the important characteristics?
How should the hardware be divided between individual controls and the main controller?
The prototypes have provided answers to many of these questions.
Just as importantly, they have exposed problems that would have been difficult to identify by designing everything up front. The various mechanisms have gone through several iterations as issues with durability, packaging, sensing, and usability have been identified.
The Next Phase
With the basic functionality of the full simulator now working, the project is reaching an important transition point.
The next phase is less about proving whether an individual control can work and more about refining the designs into the final hardware.
That means replacing temporary prototype solutions with purpose-built PCBs, improving mechanical durability, refining the physical appearance, and developing a more consistent approach to the electronics across the cockpit.
One of the next major steps will be a custom HID controller based on the STM32G474RE. The TPM console has grown beyond what the original ATmega32-based controller was intended to handle, and a more capable controller provides a better foundation for the final implementation.
The goal is not simply to make each individual component work. The next stage is about making all of the components work together as a cohesive cockpit.
The prototypes established the concepts. The next round of designs will turn those concepts into the final simulator.