The C172 Project Overview
Christopher Edwards

Building the Flight Simulator:
Scope, Goals, & Project Roadmap
I’ve wanted to build a flight simulator for a while, but I don’t want this to be a project where I spend years building a cockpit before I can actually use it.
The goal is to approach the simulator as an engineering project that happens to be a flight simulator.
It will combine embedded software, electronics, PCB design, computer software, aviation, and flight simulation into one larger project. At the same time, it should be useful as a simulator from the very beginning.
The initial software target will be the default Cessna 172 in X-Plane 12, but the physical cockpit won’t necessarily be an exact replica of that aircraft.
Instead, the cockpit will be influenced by the aircraft I have actually flown during flight training.
That distinction is important.
I’m interested in building something that feels familiar when I sit down at it — a cockpit where the location of controls, the sequence of operations, and the overall workflow reflect real flying experience.
Why Build a Flight Simulator?
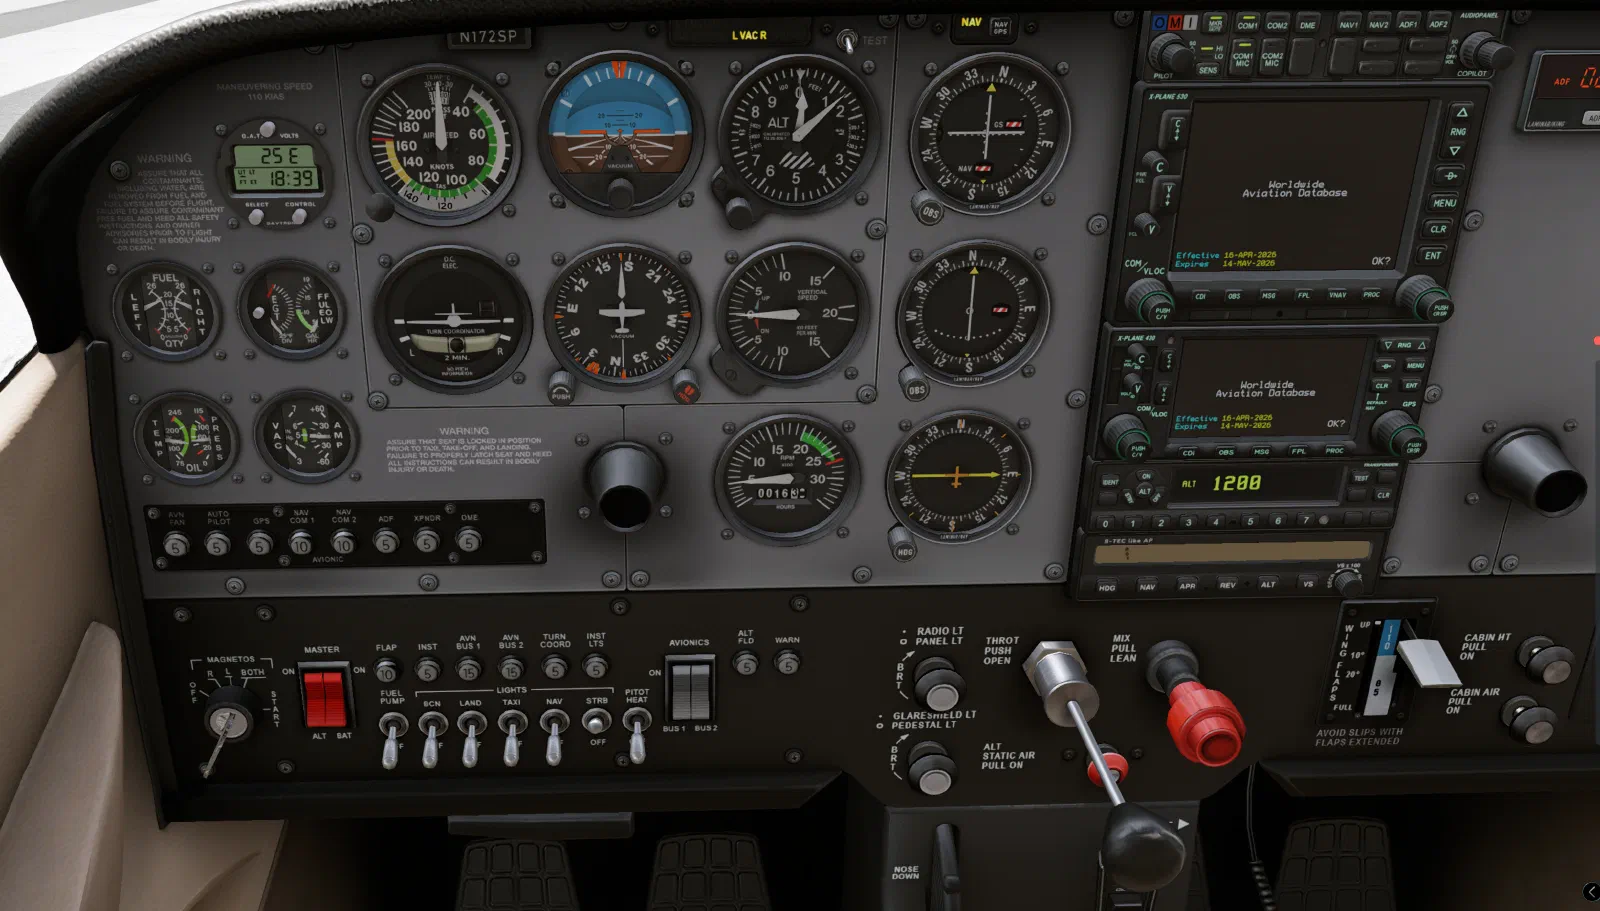
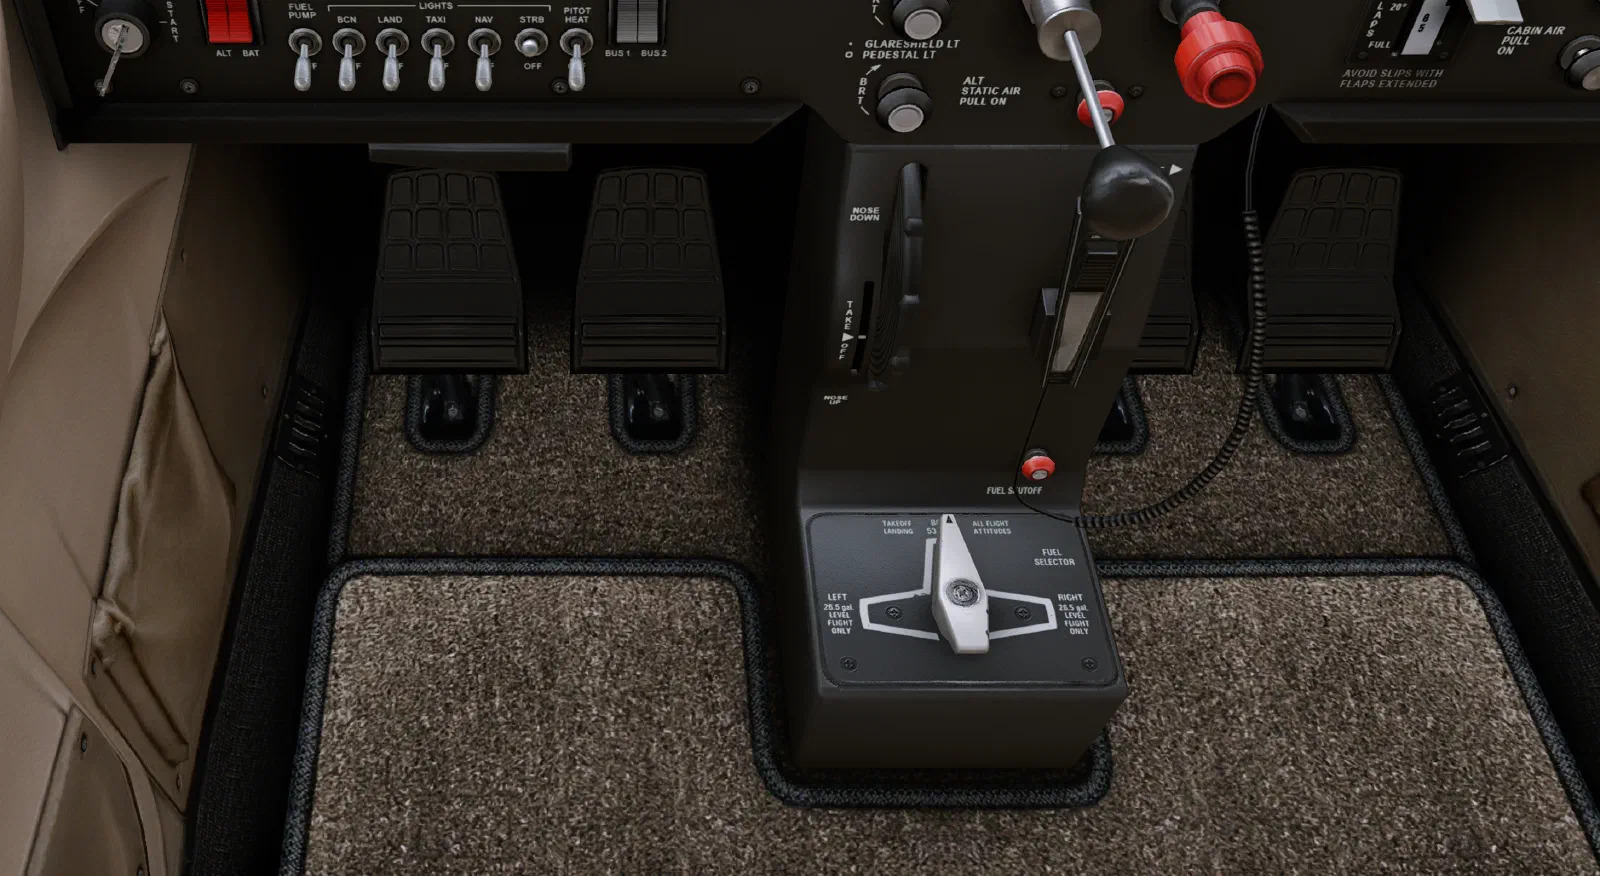
There are plenty of commercial flight simulation products available, so building one from scratch isn’t necessarily the easiest way to get a simulator.
But building one provides an opportunity to understand what is happening behind the cockpit.
Every switch, encoder, display, controller, and interface becomes an engineering problem.
It also provides a way to combine several areas I’m interested in:
- Embedded software
- Electronics
- PCB design
- USB and HID devices
- Microcontrollers
- Computer software
- Mechanical systems
- Aviation
- Flight simulation
And there is another important reason for the project.
I want the simulator to be something that can reinforce my flight training.
Reinforcing Flight Training
The simulator is not intended to replace actual flight training.
Instead, one of its secondary purposes is to provide a way to repeatedly practice the procedures and workflows that are useful to practice outside the aircraft.
A large part of flying involves knowing what to do, when to do it, and where the controls are.
Those are skills that can benefit from repetition.
The simulator will therefore emphasize things such as:
- Cockpit familiarization
- Switch locations
- Control locations
- Checklist procedures
- Normal operating workflows
- Startup and shutdown sequences
- Radio and avionics workflows
- Navigation setup
- Preflight procedures
- Emergency procedure flows
The objective is not to make the simulator a substitute for flying.
It’s to make it a place where I can repeatedly practice the sequence and physical workflow of operating the airplane.
If I can sit down at the simulator and run through a checklist, find the controls without thinking about where they are, configure the avionics, and practice the flow of a normal flight, then the simulator is doing something useful beyond simply displaying an airplane on a screen.
Building From What I’ve Actually Flown
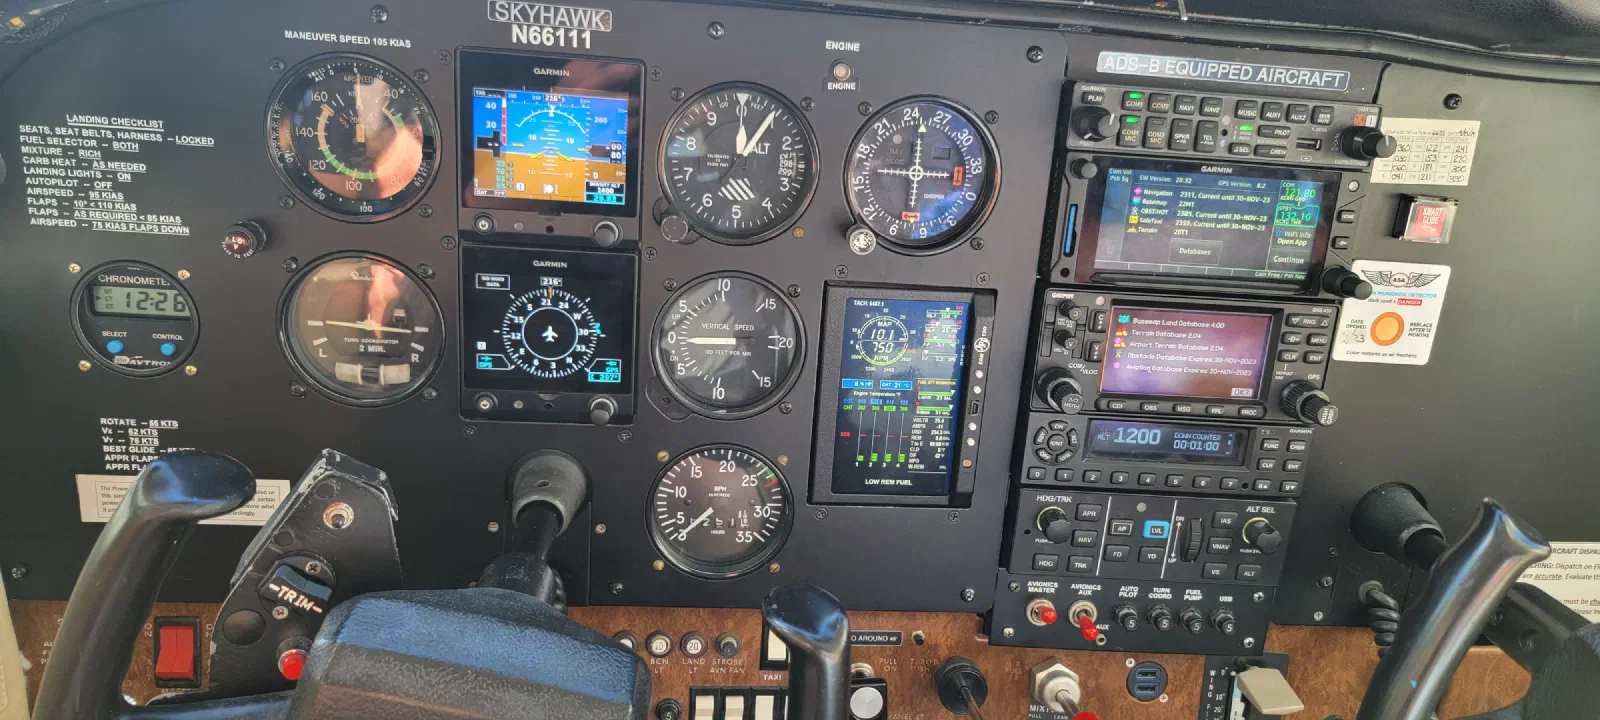
One of the most important design principles for this project is that the cockpit should be influenced by my actual flight-training experience.
Rather than starting with an abstract idea of what a C172 cockpit should look like, I’ll use the aircraft I’ve actually flown as references.
Those aircraft will provide inspiration for:
- Control placement
- Switch arrangement
- Instrument layout
- Avionics configuration
- Checklist workflows
- Cockpit ergonomics
- Physical control operation
- General cockpit organization
This doesn’t mean the simulator will be an exact reproduction of any one aircraft.
Different training aircraft can have different equipment, avionics, switch arrangements, and panel layouts.
Instead, I’m interested in identifying the common elements and workflows that make a cockpit feel familiar.
The result will be a simulator that is inspired by real aircraft I’ve flown while using the default X-Plane 12 C172 as the initial simulation model.
That gives me both a real-world reference and a well-defined software target.
Defining the Baseline
A project like this can become almost unlimited in scope.
There are thousands of possible cockpit components, aircraft configurations, avionics systems, and simulation features that could be reproduced.
So I need a well-defined starting point.
The baseline will be:
The default Cessna 172 in X-Plane 12, configured around the cockpit workflows and equipment that are familiar from my flight training.
This provides a known aircraft and a known simulator while leaving some flexibility in the physical implementation.
The software model defines what the simulator needs to accomplish.
My real-world flying experience helps define how I want to interact with it.
What I Will and Won’t Build
One of the first scope decisions is that I will not build the primary flight controls.
The yoke and rudder pedals will be commercial, off-the-shelf equipment.
Building a realistic yoke and rudder pedal system is a significant mechanical project by itself. It would add a large amount of work without necessarily contributing much to the embedded-electronics goals of this project.
Using commercial controls means I can concentrate on the parts of the simulator that are more interesting to me from an electronics and software perspective.
The project will therefore focus on the cockpit systems surrounding those controls:
- Switches
- Buttons
- Encoders
- Knobs
- Throttle controls
- Trim controls
- Avionics controls
- Instrumentation
- Displays
- Embedded controllers
- USB interfaces
- PCBs
- Software
- Wiring
- Cockpit integration
Start With Hobby Hardware
I also don’t want to design custom PCBs before I completely understand what the hardware needs to do.
The initial electronics will therefore be hobby-grade and off-the-shelf.
Development boards, breakout boards, sensors, displays, and other readily available hardware will be used to build the first versions of the system.
This allows me to experiment quickly.
I can determine:
- How many inputs a panel actually needs
- Which switches and encoders make sense
- How inputs should be scanned
- How the firmware should be structured
- How the hardware should communicate with X-Plane
- What information needs to move between the PC and the microcontroller
- Which functions belong on the embedded system
- Which functions belong in PC software
Once those requirements are understood, the hardware can evolve into custom-designed PCBs and PCB assemblies.
From Prototype to PCBA
The progression from prototype to finished hardware will be an important part of the project.
Off-the-shelf hardware
          ↓
       Prototype
          ↓
    Test & experiment
          ↓
  Refine requirements
          ↓
      Schematic
          ↓
      PCB layout
          ↓
      Prototype PCBA
          ↓
 Firmware + software
          ↓
      Integration
The first version doesn’t have to be elegant.
It needs to answer questions.
Once the design is understood, I can turn the prototype into a proper PCB.
Eventually, I expect the simulator to contain several custom PCB assemblies, each responsible for a particular cockpit subsystem.
Instrumentation: Start With Air Manager
Instrumentation will follow the same incremental philosophy.
Initially, I will use Air Manager for the flight instruments.
This allows me to get useful instrumentation working without making custom instrument hardware one of the first major projects.
It also provides an opportunity to concentrate on the physical cockpit controls and embedded interfaces first.
Later, custom instruments and displays can become their own projects.
The progression might look something like:
Air Manager
     ↓
Understand requirements
     ↓
Experiment with displays
     ↓
Prototype custom instrument
     ↓
Design electronics
     ↓
Custom PCB
     ↓
Custom instrument
This keeps instrumentation from becoming a dependency for the rest of the simulator.
The Major Subprojects
The simulator will be divided into smaller projects rather than treated as one enormous build.
Each subsystem should have a clear purpose, a defined interface, and a way to test it independently.
1. X-Plane Interface
The first layer connects the physical cockpit to X-Plane 12.
This establishes how physical controls become simulator inputs and how aircraft state can be made available to external hardware.
2. Embedded USB Controllers
Microcontrollers will handle physical cockpit inputs such as:
- Switches
- Buttons
- Encoders
- Potentiometers
- Sensors
- Other controls
The initial versions can use development boards.
Later, these can become custom PCBs.
Cockpit Controls
       ↓
 Prototype Electronics
       ↓
 Microcontroller
       ↓
    USB HID
       ↓
       PC
       ↓
   X-Plane 12
3. C172-Inspired Cockpit Panels
The cockpit panels will be based on a combination of:
X-Plane’s default C172
and
the aircraft and cockpit layouts I’ve experienced during flight training.
This gives me a concrete functional target while allowing the physical design to reflect what I actually know and use.
Panels can be developed independently:
- Master/electrical
- Lighting
- Avionics
- Engine controls
- Autopilot
- Radio
- Navigation
- Other cockpit controls
Each panel can start as a simple prototype and eventually become a custom PCBA.
4. Engine and Secondary Flight Controls
The yoke and rudder pedals will be off the shelf, but other controls provide opportunities for custom mechanical and electronic design.
Potential controls include:
- Throttle
- Mixture
- Carburetor heat
- Trim
- Other aircraft-specific controls
The exact implementation will be influenced by the aircraft I’ve flown rather than trying to reproduce every possible C172 configuration.
5. Instrumentation
Air Manager will provide the initial instrument solution.
Custom instrumentation can then be explored later as an independent project.
This allows the simulator to become useful early without locking the project into a particular display architecture.
6. Avionics and Navigation
Avionics will eventually become another major subsystem.
The initial goal isn’t to reproduce every possible avionics configuration.
Instead, the system will concentrate on the avionics and workflows that are relevant to the C172 baseline and familiar from my training.
Potential areas include:
- Radios
- GPS/navigation
- Autopilot
- Transponder
- Navigation controls
- Displays
- Communication interfaces
7. Wiring and Interconnect
As the number of custom controllers grows, wiring becomes an engineering problem of its own.
The system will need a consistent approach to:
- Power
- USB
- Grounding
- Connectors
- Cable routing
- Harnesses
- Serviceability
Modularity will be important here.
I want individual subsystems to be removable or replaceable without having to dismantle the entire simulator.
8. Physical Cockpit
The physical cockpit will eventually bring everything together.
It can include:
- Instrument panel
- Center console
- Switch panels
- Throttle quadrant
- Display mounting
- Seating
- Yoke and rudder pedal mounting
- Cable management
But the physical cockpit won’t be the first milestone.
The electronics and workflows should work before everything is permanently installed.
Development Philosophy
The overall philosophy is:
Prototype first. Learn from real use. Then design the hardware.
This is particularly important because I have a real-world reference for the cockpit.
If something doesn’t feel intuitive compared with an aircraft I’ve flown, that’s useful information.
The prototype provides a way to discover those problems before committing them to a PCB or permanent cockpit structure.
The development cycle becomes:
Real Aircraft Experience
          ↓
      Requirements
          ↓
       Prototype
          ↓
    Simulator Testing
          ↓
      Flight Practice
          ↓
      Refine Design
          ↓
       Custom PCB
          ↓
       Integration
This is more than simply building a cockpit.
It’s an iterative process of translating real-world flying experience into an engineered simulation interface.
What Success Looks Like
Success isn’t necessarily a cockpit that looks exactly like a particular C172.
The goal is a simulator that feels familiar, works reliably, and supports the way I actually want to use it.
It should be:
Functional
I can sit down and fly the C172 in X-Plane 12.
Familiar
The cockpit organization and workflows are influenced by aircraft I have actually flown.
Useful
I can use it to repeatedly practice checklists, procedures, and cockpit flows.
Modular
Individual electronics and software subsystems can be developed independently.
Maintainable
I can understand and repair the hardware and software later.
Expandable
The system can evolve beyond the initial implementation.
An Engineering Project
The development of the electronics, firmware, PCBs, software, and mechanical systems is just as important as the finished cockpit.
One Simulator, Many Projects
The “flight simulator project” is really a collection of smaller engineering projects.
                       FLIGHT SIMULATOR
                              │
          ┌───────────────────┼───────────────────┐
          │                   │                   │
       HARDWARE            SOFTWARE           COCKPIT
          │                   │                   │
     ┌────┼────┐         ┌────┼────┐         ┌────┼────┐
     │    │    │         │    │    │         │    │    │
  Inputs PCBA Displays   HID X-Plane Air    Panels Wiring
                              │       Manager
     │                        │                   │
     └────────────────────────┼───────────────────┘
                              │
                         C172 Simulation
                              │
                    Training Workflows
Each branch can become its own project and its own series of blog posts.
The final cockpit will be the visible result, but the interesting part of the project is everything underneath it:
the electronics, firmware, PCB design, software, mechanical design, experiments, failures, and lessons learned along the way.
And most importantly, the simulator should remain useful throughout the process.
I don’t need to wait until the entire cockpit is finished before I can fly it.
I can build one subsystem, test it, use it, learn from it, and then build the next one.
One aircraft. One subsystem at a time.