Current State of the Build
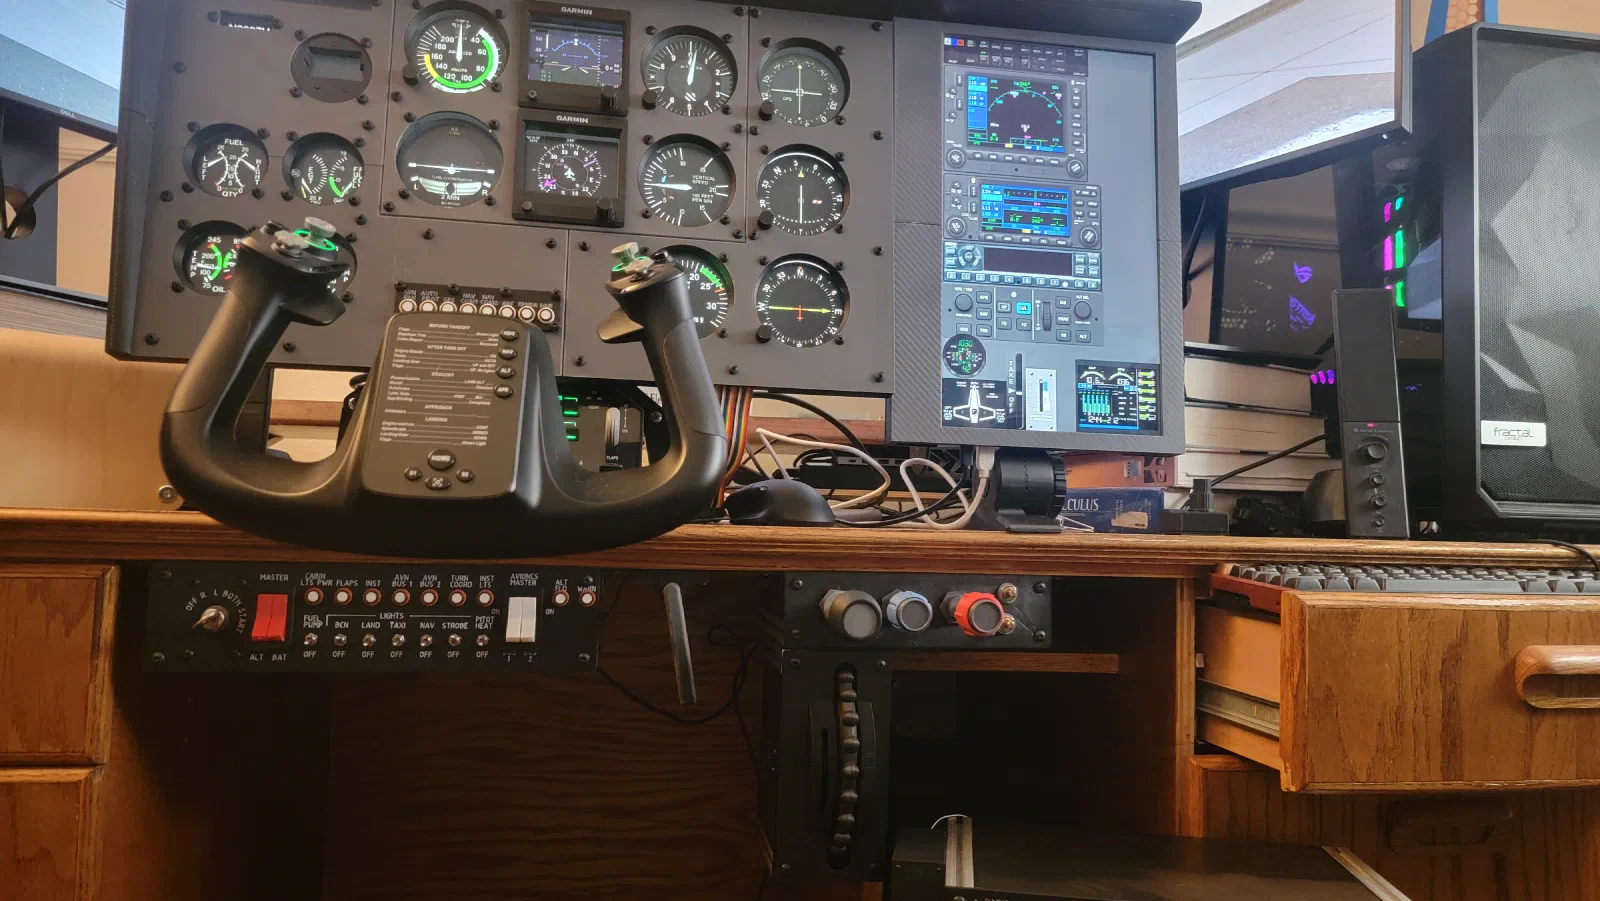
Simulator Build Log: Progress So Far
What started as a basic simulator setup has grown into a much more involved project. The goal has always been to build something that goes beyond simply adding controls to a simulator and instead recreates the layout, feel, and interaction of an actual aircraft cockpit.
The project has evolved through a series of individual components, with each build providing an opportunity to experiment with different mechanical and electrical approaches. At this point, the basic functionality of the full simulator is working, and the focus is beginning to shift from proving the concepts to refining the designs into the final product.
Prototype HID Controller
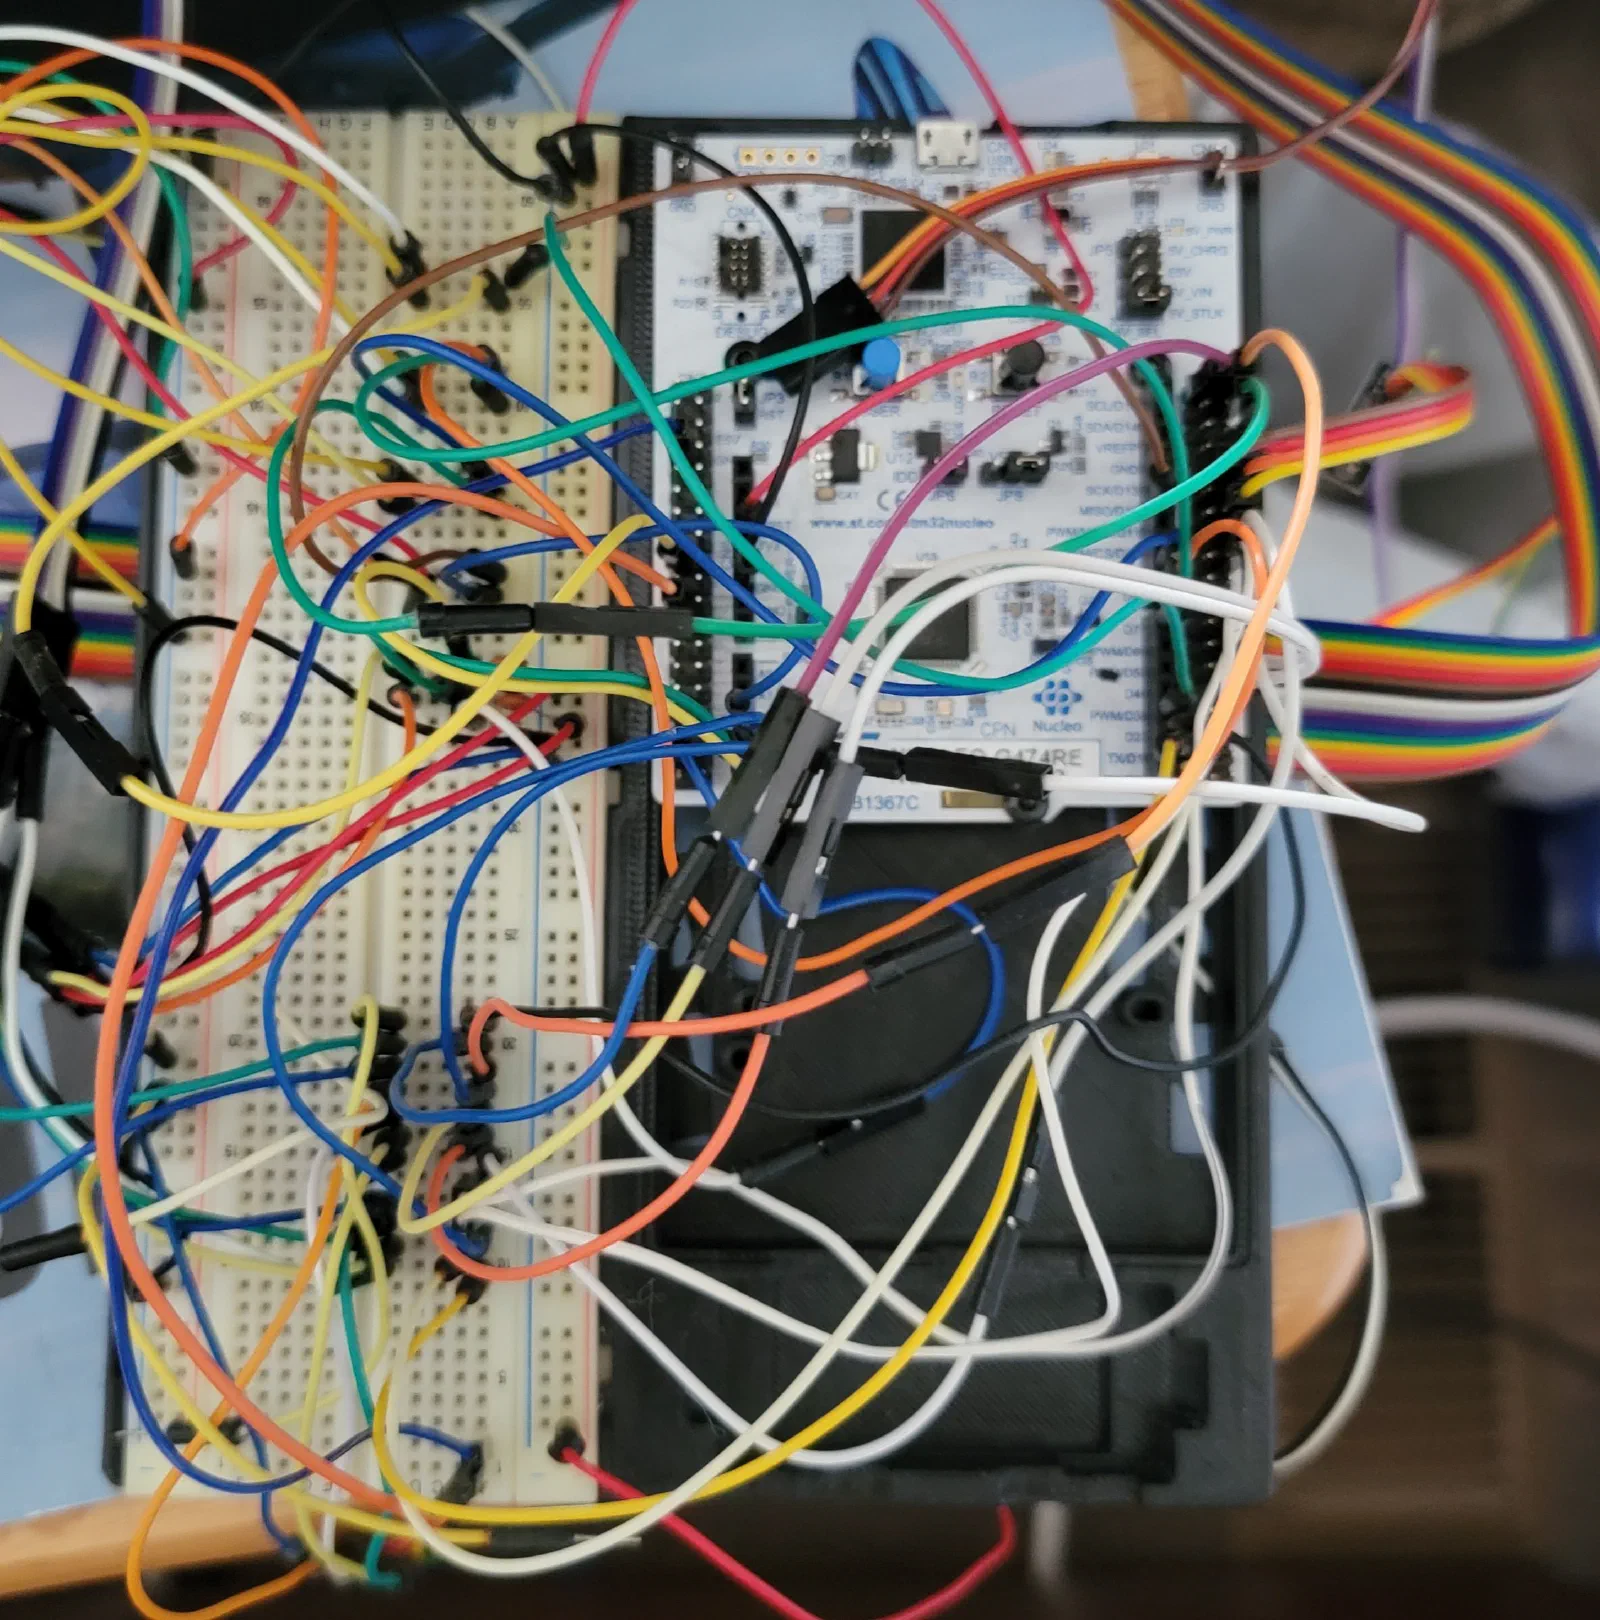
Custom HID Controller
With the basic functionality of the simulator now working, the focus can start shifting from simply getting controls operational to refining the designs into the final system. The early development used readily available development boards and simple interfaces to get the different components working quickly. That approach was useful during prototyping, but the TPM console has now grown beyond what those original controllers were intended to support.
GNS530 PCB
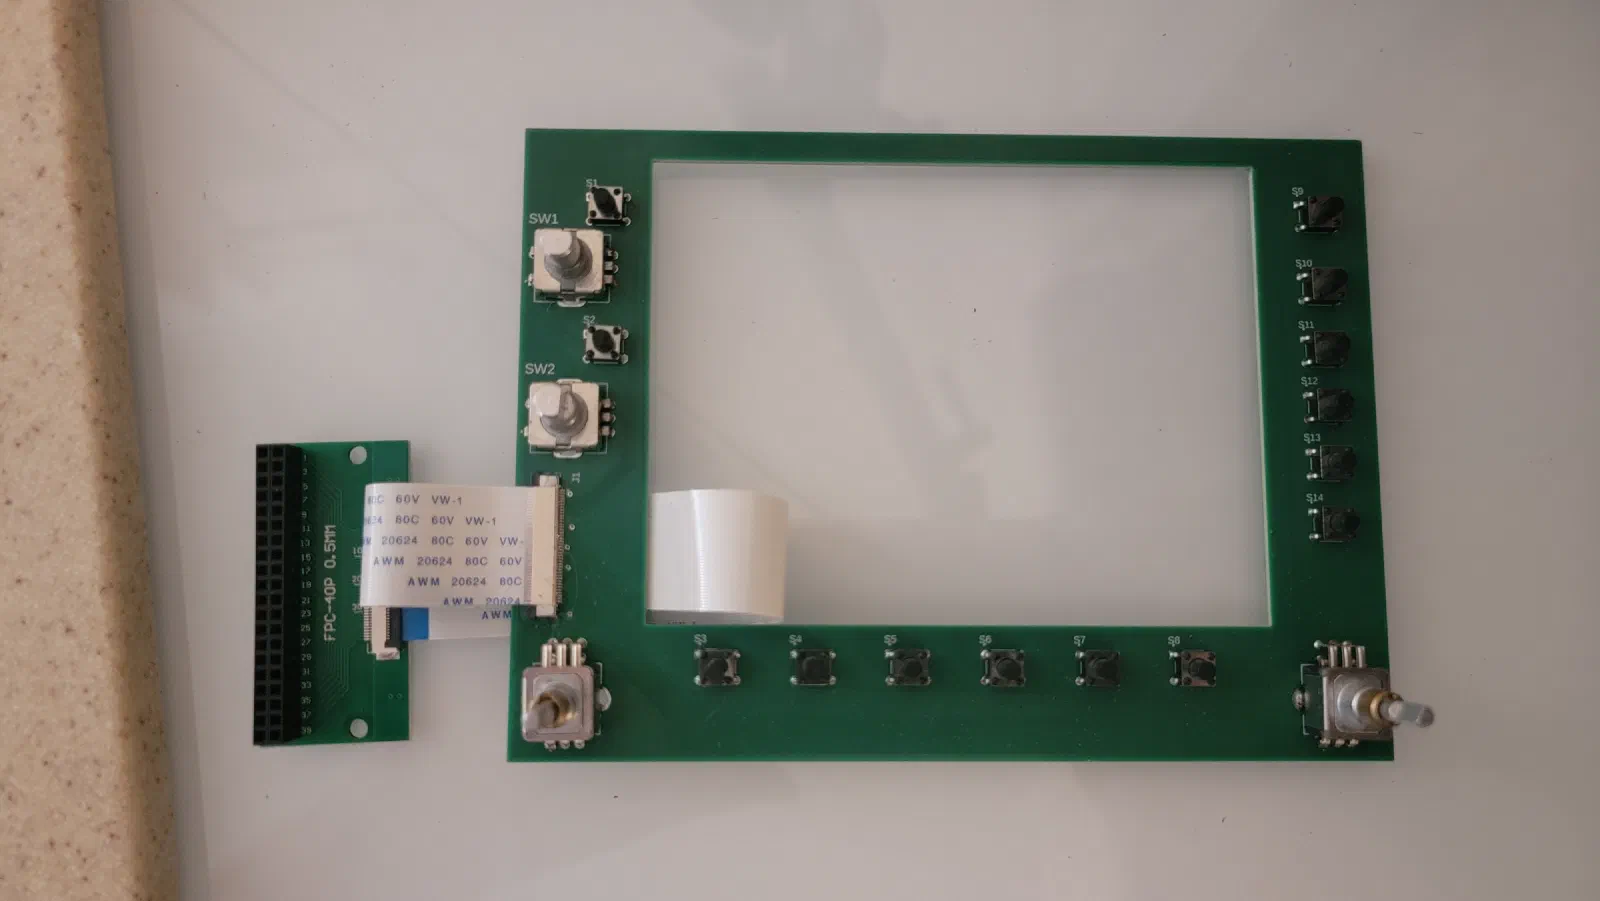
Building the GNS 530 Control PCB
The first GNS 530 prototype used a touchscreen and an Arduino Mega 2560 Pro Mini to provide the controls and interface. That approach was useful for getting the basic functionality working, but it didn’t provide the physical interaction of an actual avionics unit.
The next step was to move the controls onto a dedicated PCB that could become part of a physical GNS 530 overlay.
Avionics Stack
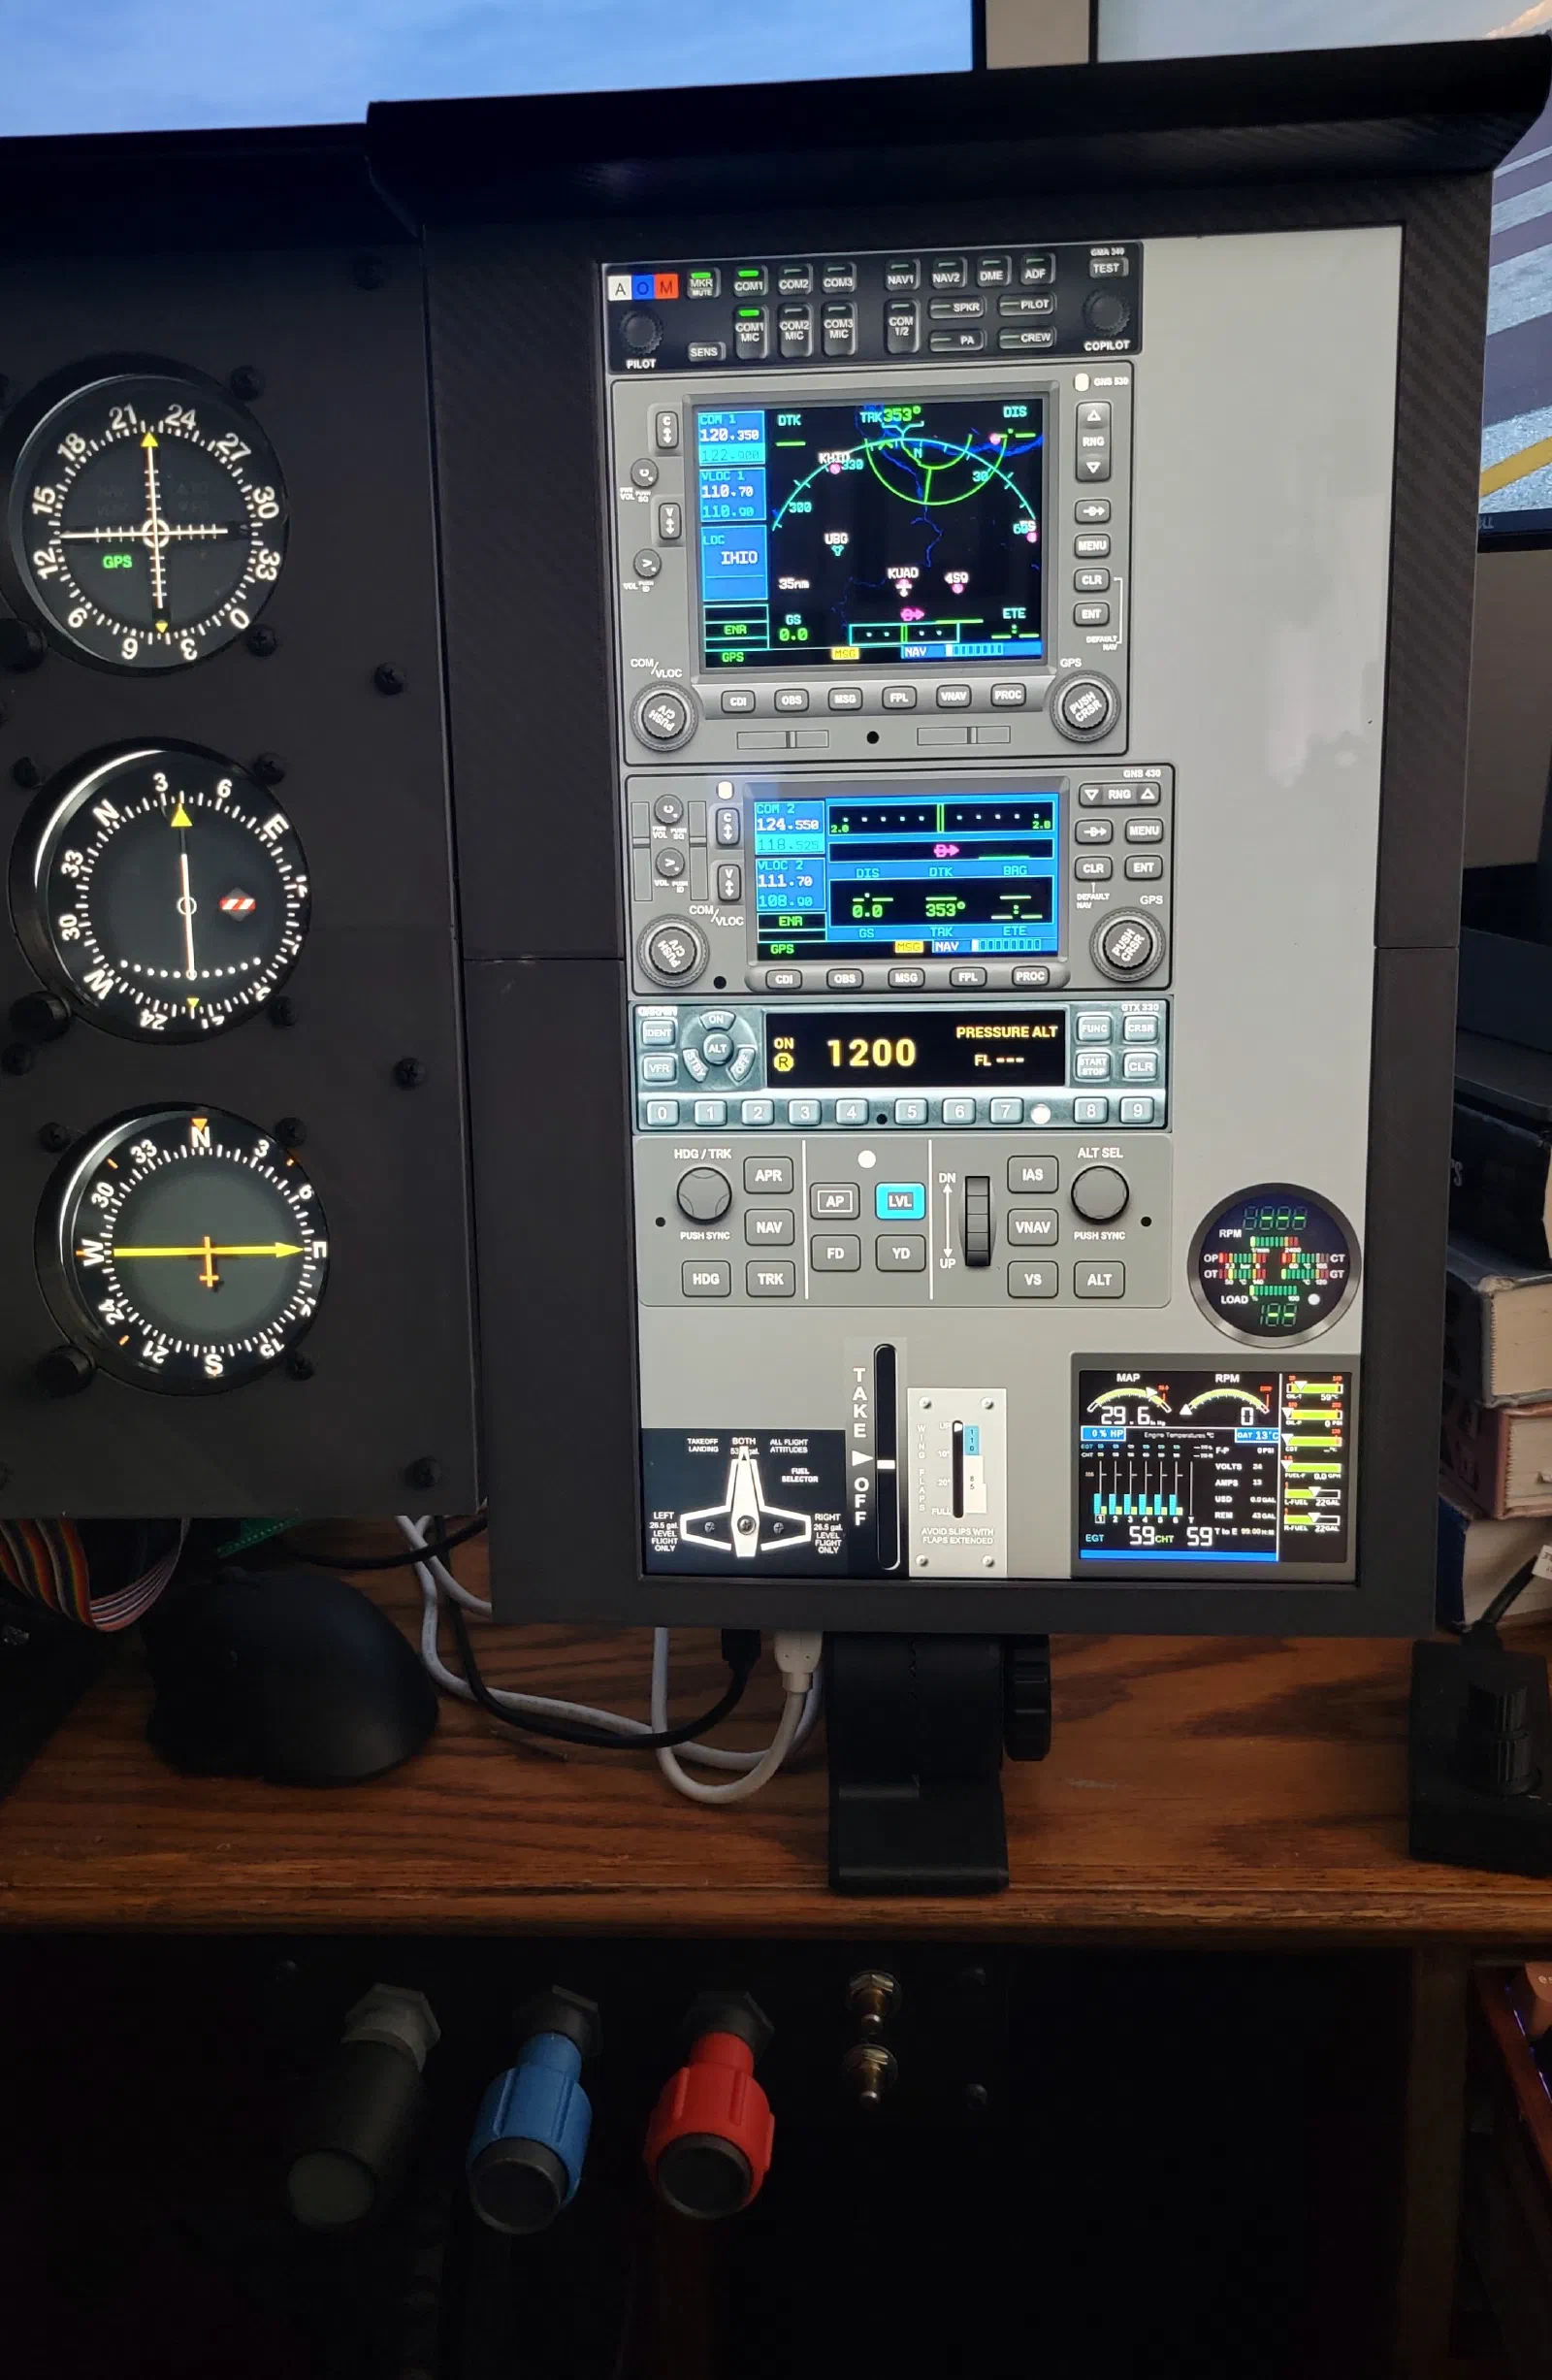
Building the Initial Avionics Stack
Project Journal — Initial Avionics Stack
As the physical cockpit controls continued to develop, I reached the point where I needed a practical way to add the avionics without committing to a final hardware design.
The solution was to build an initial avionics stack around a touchscreen. This gave me a way to match the layout of the current panel while keeping the avionics flexible as the rest of the simulator evolved.
TPM Console
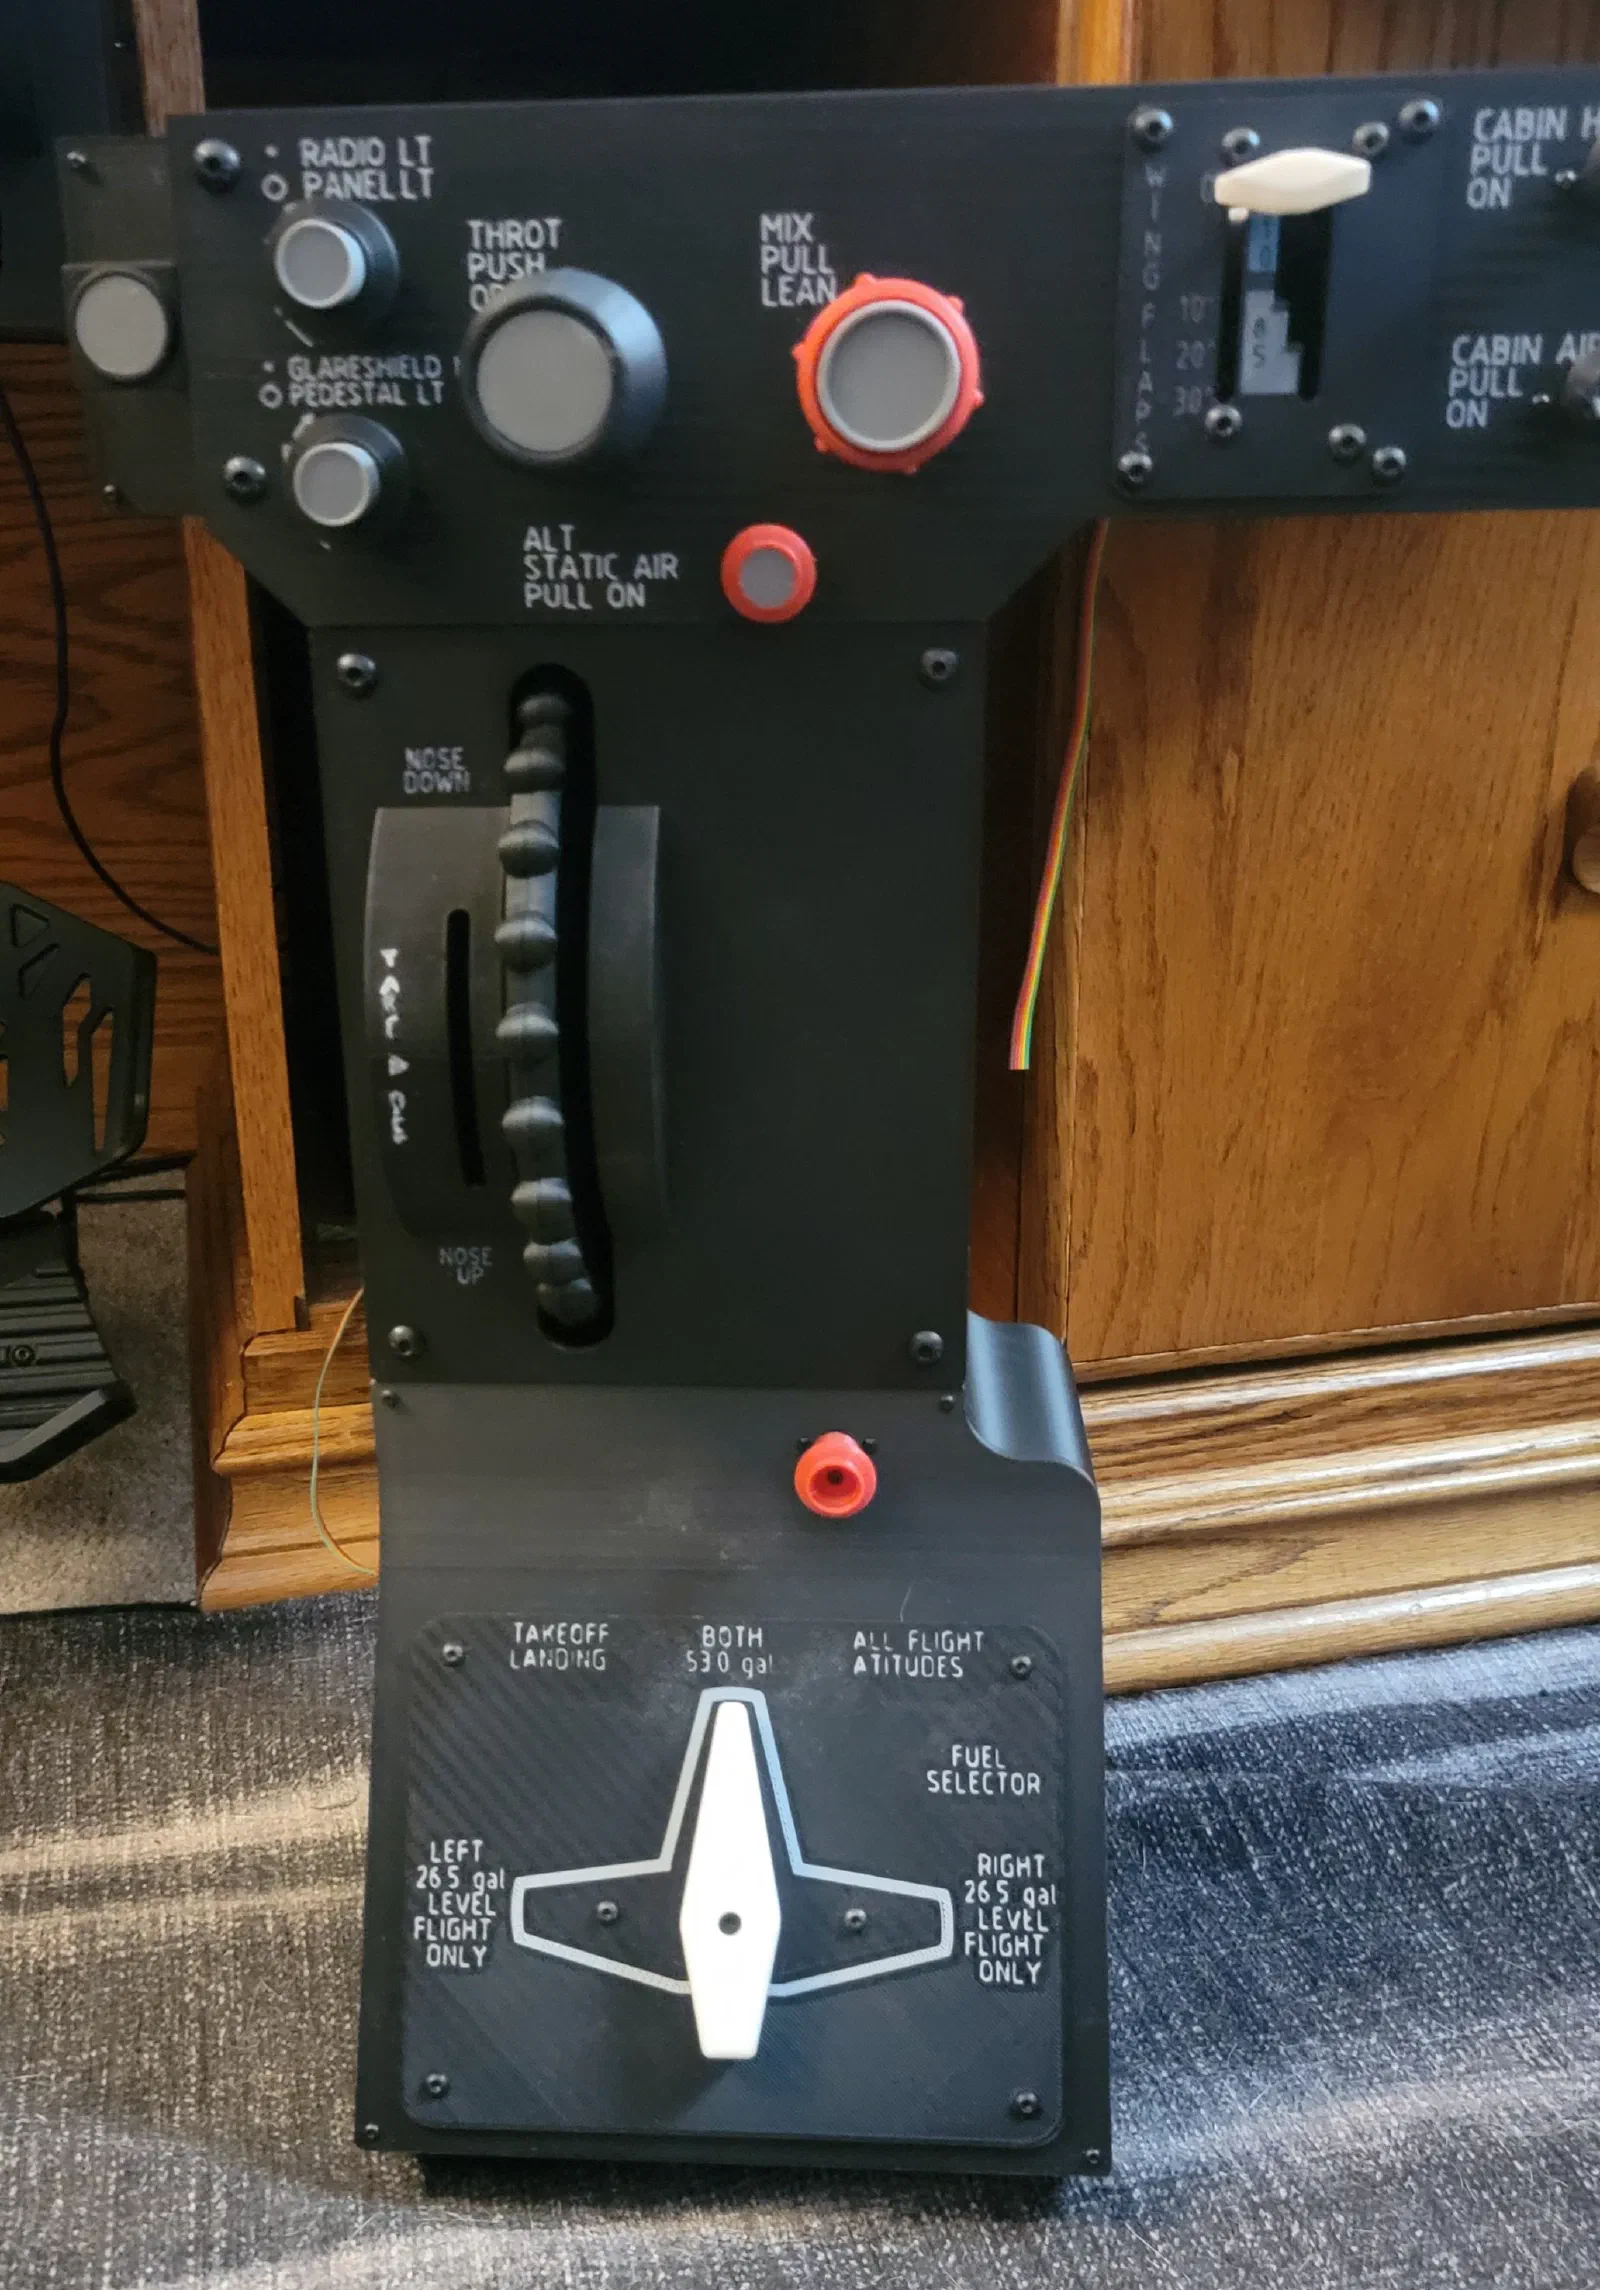
Refining the TPM Console: Current Configuration
With the basic throttle, mixture, and trim controls established, the next step was to develop the TPM console into a more complete representation of the center console found in a Cessna 172.
Using the C172 in X-Plane as the primary reference, the goal was to keep the controls located around the throttle and mixture in the physical center console. The result is a more complete assembly that combines the primary engine controls with the surrounding aircraft controls.
Fuel Selector
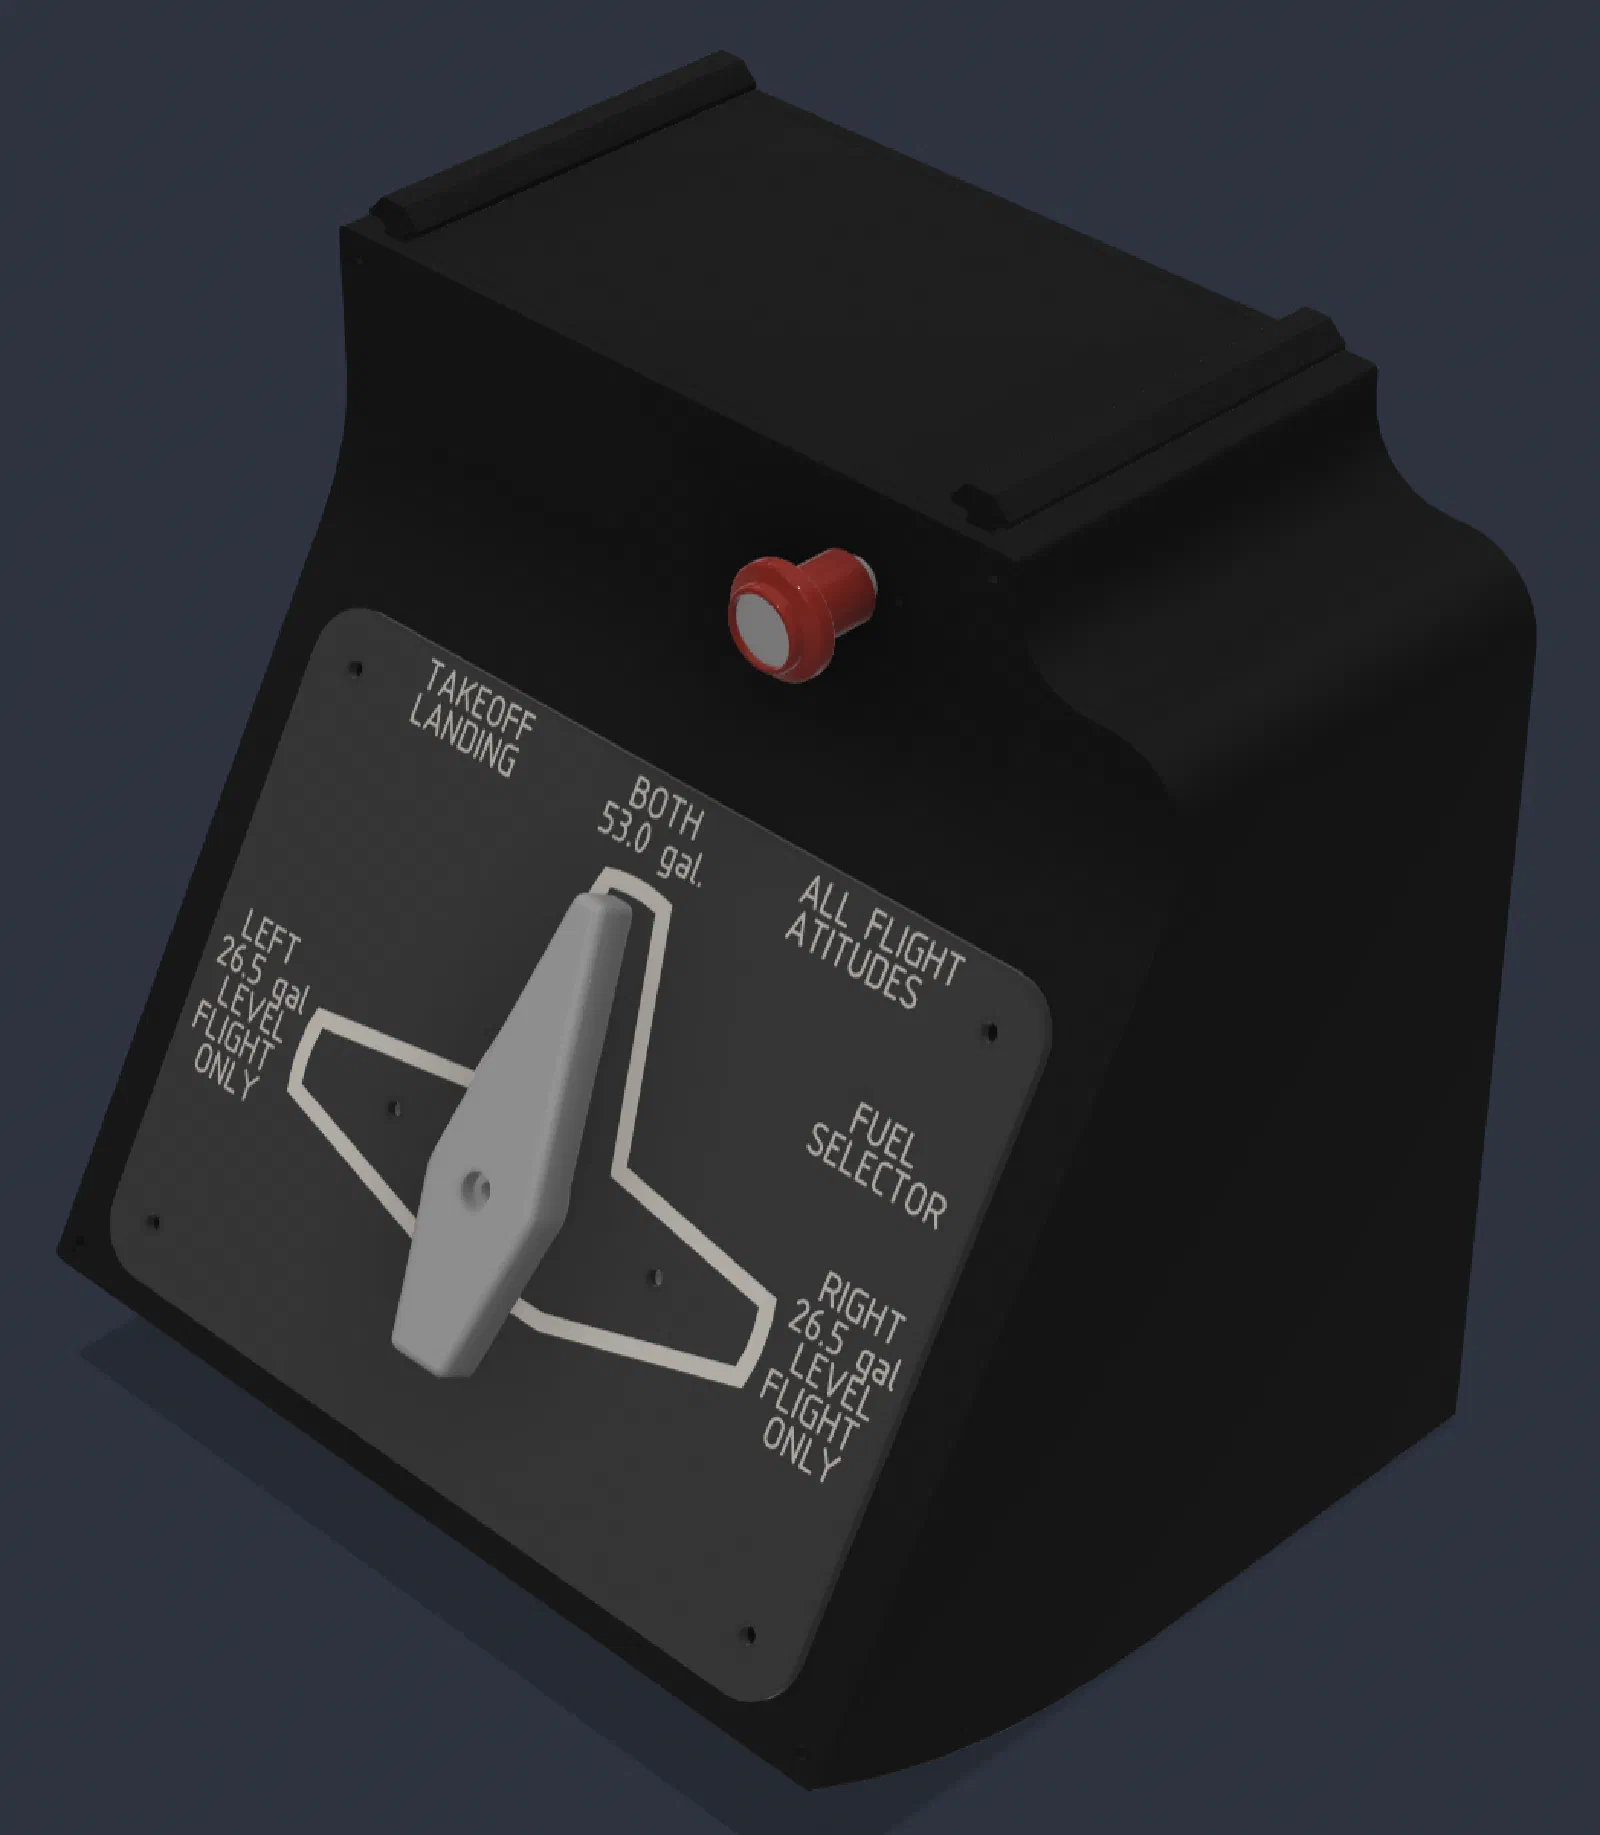
Building the Fuel Selector: Cam-Driven Detent Mechanism
The fuel selector was another opportunity to build a cockpit control from scratch rather than adapting an off-the-shelf component. The goal was to create a selector with three distinct positions, a positive mechanical click between positions, and a simple electrical interface.
The solution ended up being intentionally simple: three limit switches actuated by a custom cam with integrated detents.

Flap Control Module
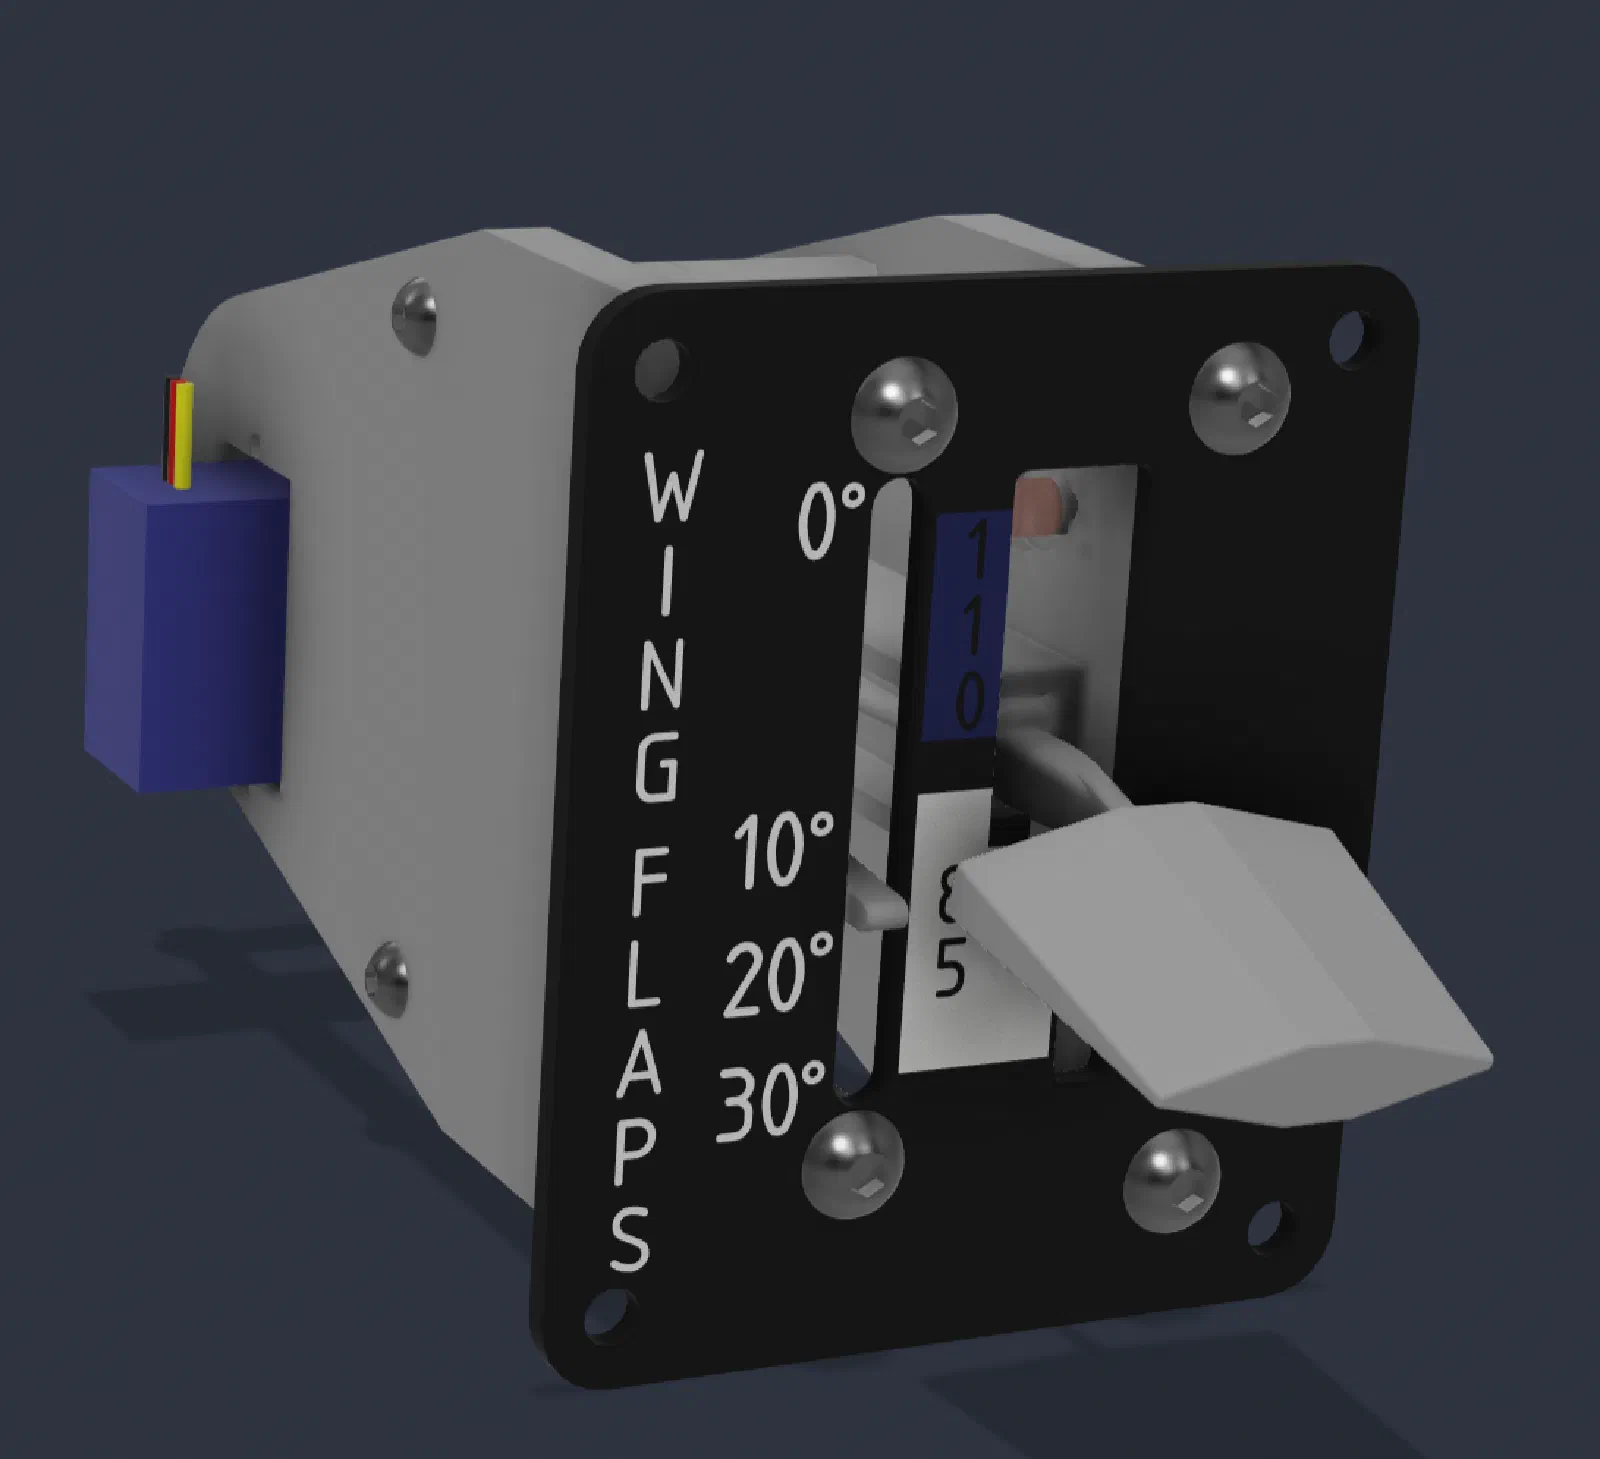
Designing the Flap Control: Integrated Position Sensing and Mechanical Detents
The flap control was another opportunity to approach the simulator hardware from first principles rather than simply reproducing an existing design.
Most of the flap controls I had seen for flight simulators use a fairly conventional approach: a lever moves through a set of positions, while the position is detected using a rotary encoder, potentiometer, microswitches, or similar electronic component.
Vernier Control
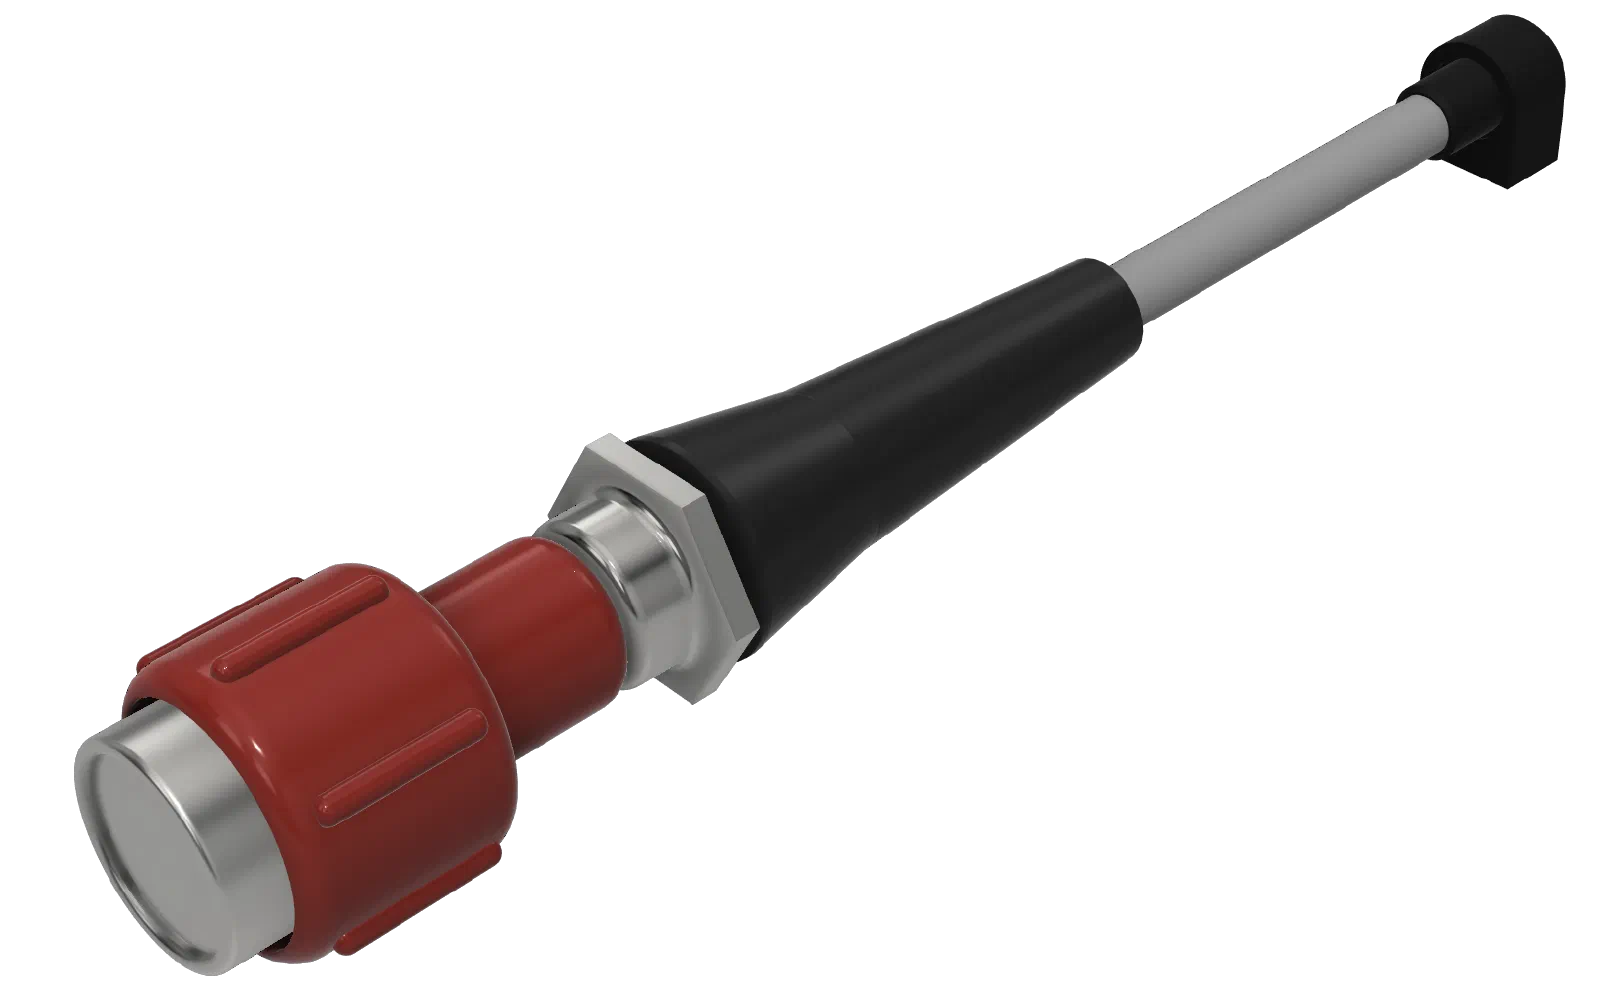
Refining the Vernier Controls in the TPM Assembly
Project Journal / Engineering Build Log
The vernier controls are an important part of the TPM (Throttle, Propeller, Mixture) assembly. They provide the combination of coarse and fine adjustment found on many aircraft engine controls, allowing the pilot to quickly move a control through its range and then make precise adjustments.
The first version of the TPM assembly established the basic mechanism, but continued use revealed a weakness in the material used for the control shafts. This iteration focused on making the shafts more robust while retaining the existing vernier mechanism.
Switch Panel Updates
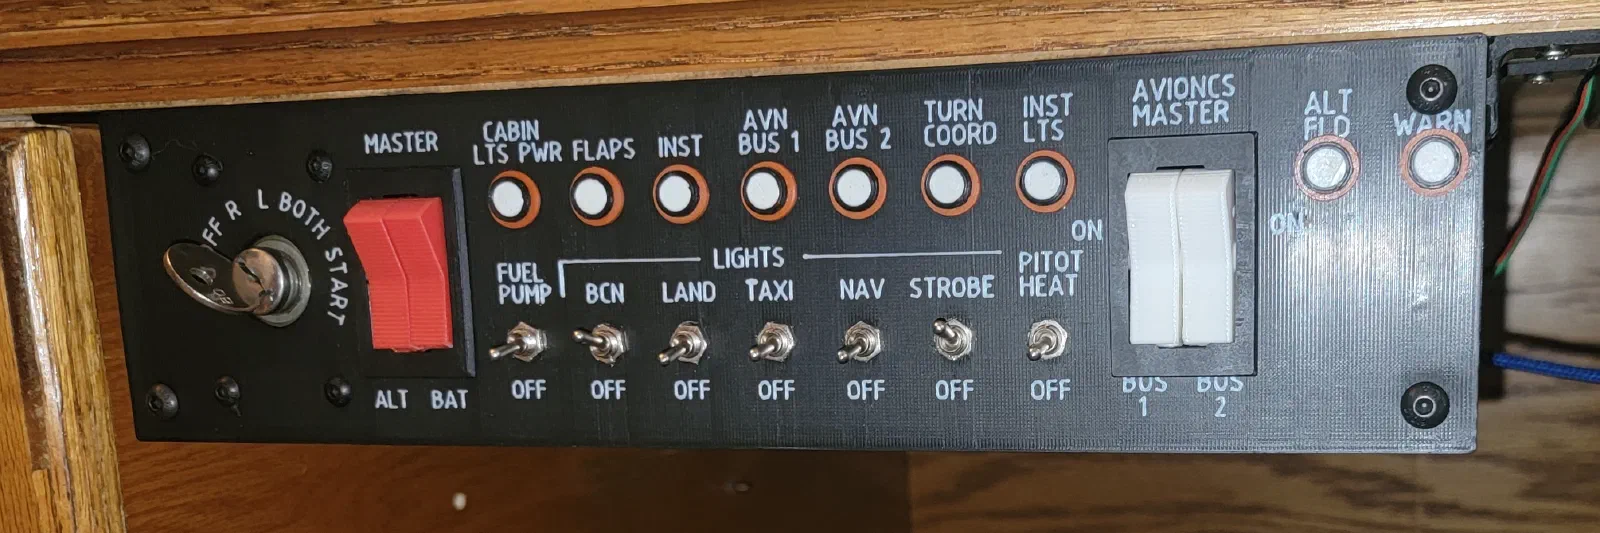
Refining the Switch Box: Panel Labels and Two-Color 3D Printing
Project Journal / Engineering Build Log
Project: Cessna 172 Flight Simulator Subsystem: Aircraft-Style Switch Box Focus: Panel labeling, text sizing, and two-color 3D printing Status: Iterative refinement
Refining the Switch Box
With the switch box taking shape mechanically and electronically, the next area that needed attention was the panel itself.
The switches were in place, but the panel still needed clear labeling to make it feel like a finished cockpit component rather than a collection of prototype parts.
Parking Brake
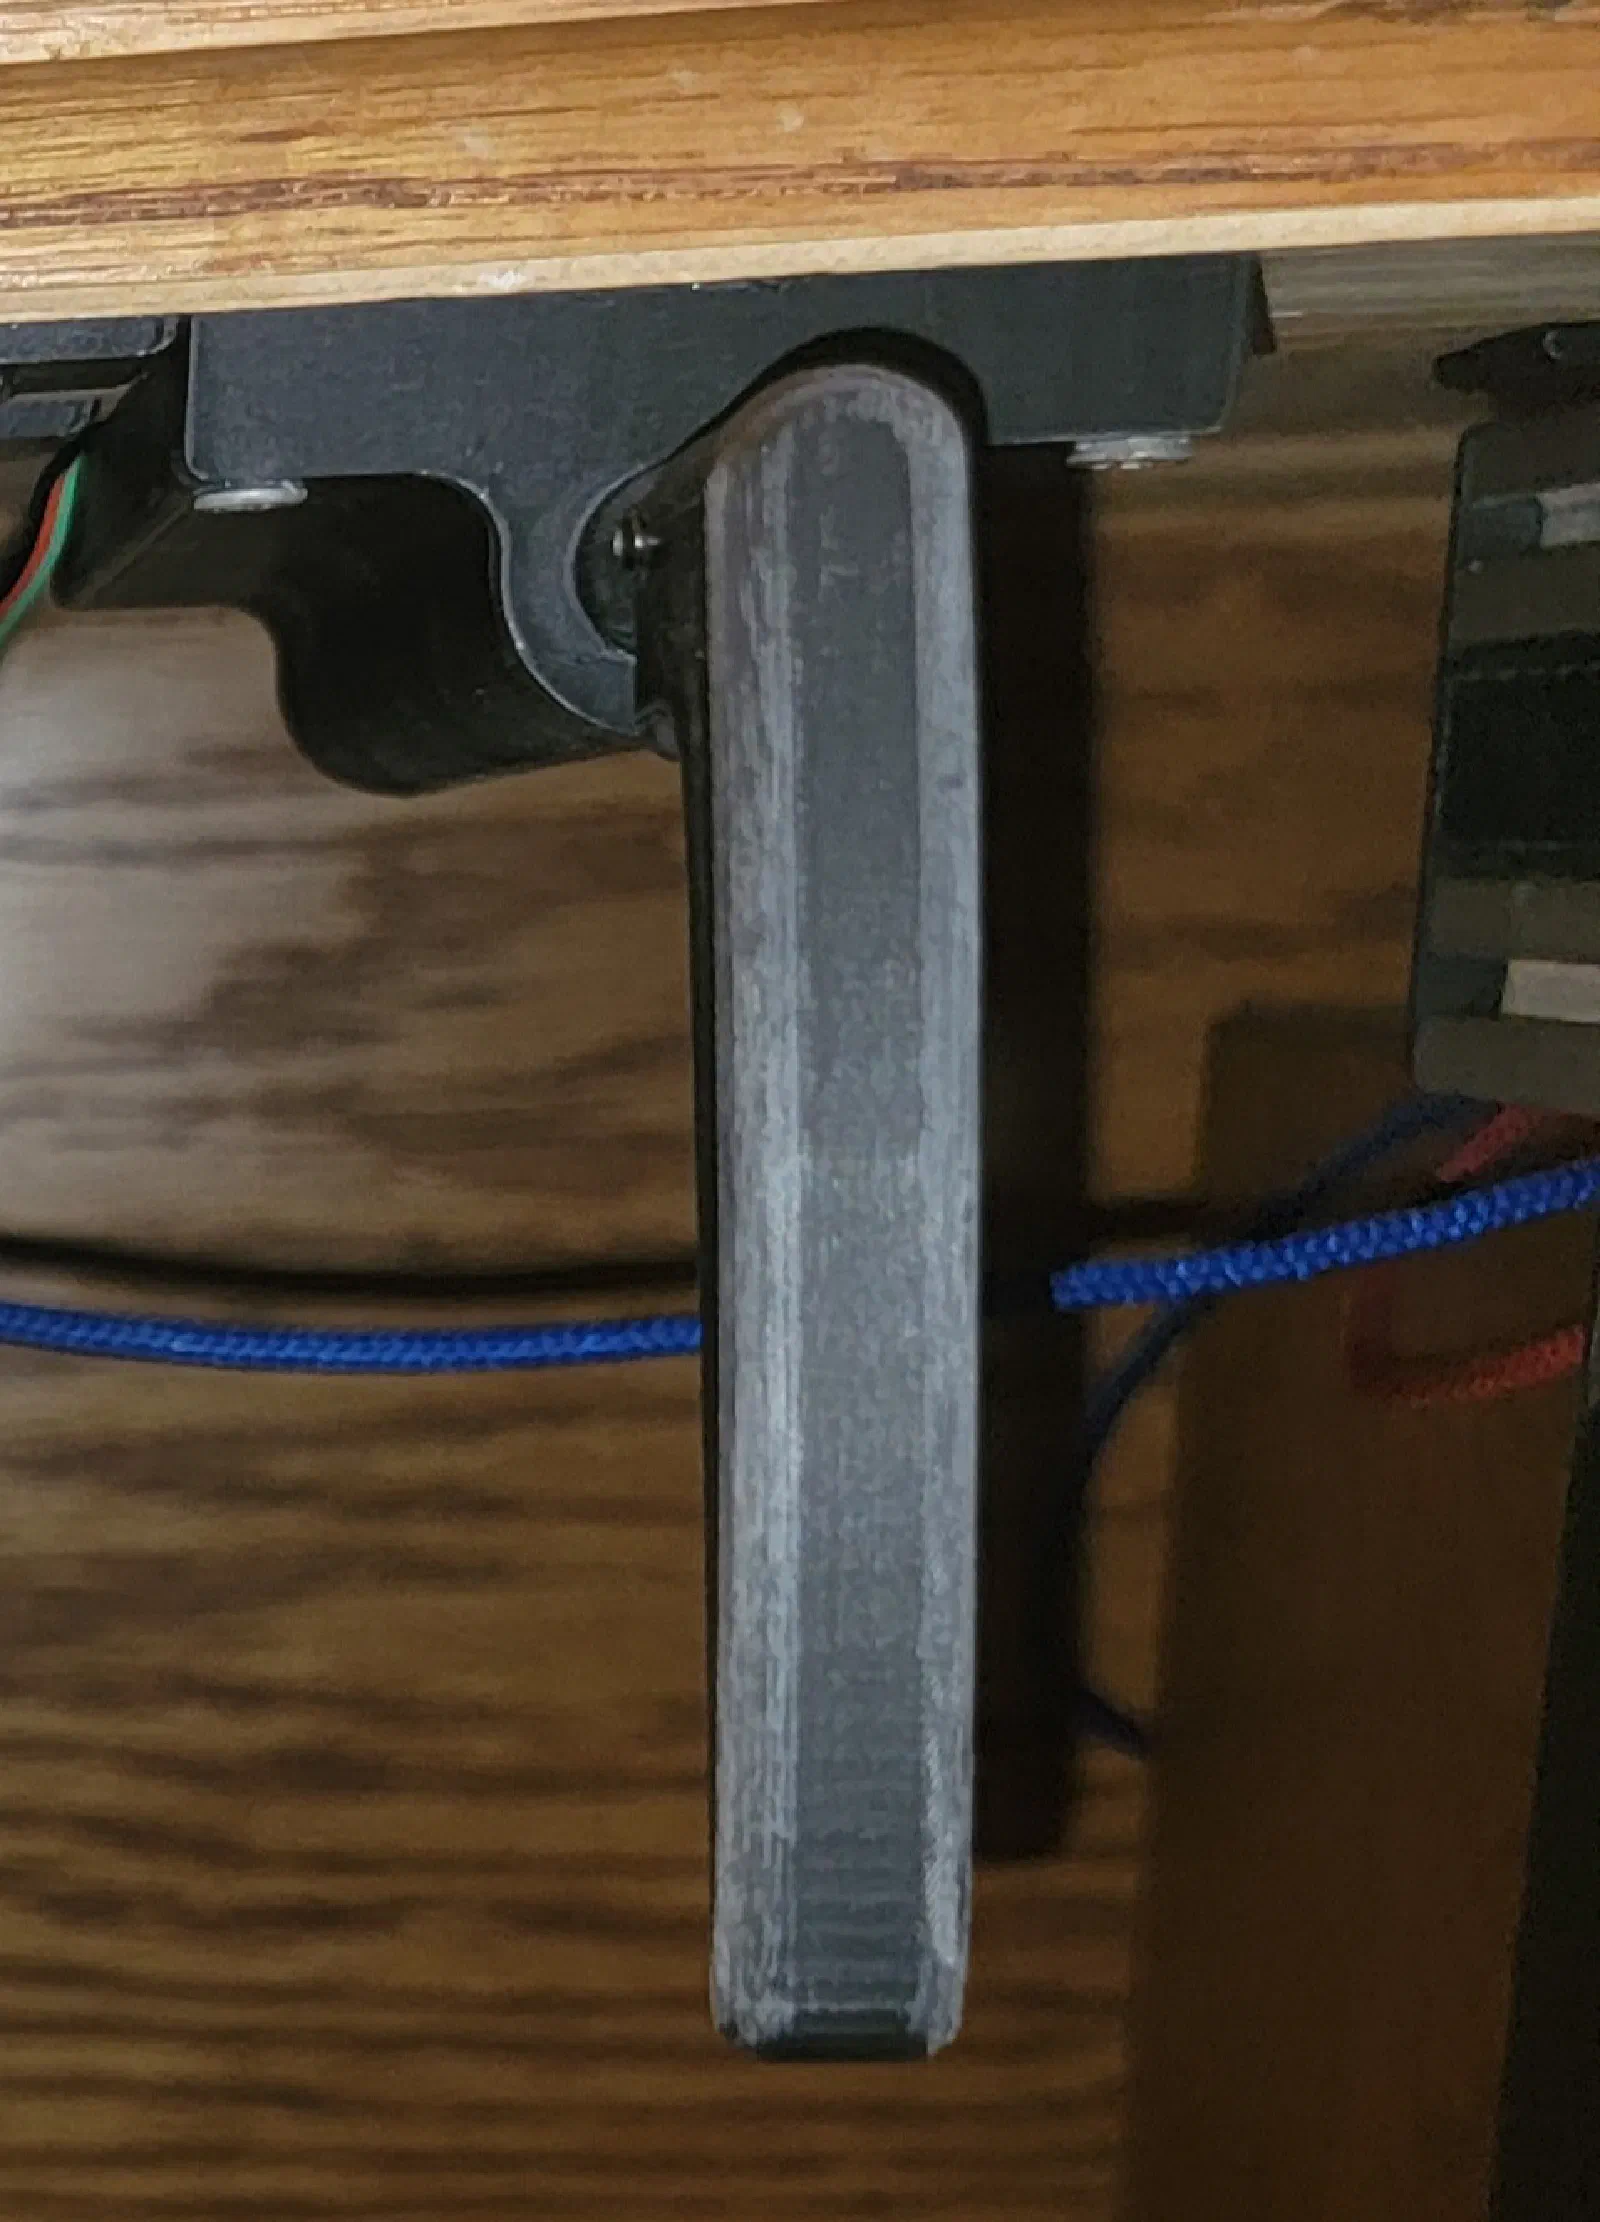
Adding an Aircraft-Style Parking Brake to the Switch Box
Flight Simulator Build Journal — Switch Box
The switch box started as a way to bring the basic aircraft switches into the simulator cockpit, but as the project has progressed, I have been paying more attention to something that is easy to overlook: how the controls feel.
A parking brake is a good example.
In a simulator, it would be easy to implement the parking brake as a simple toggle switch. Pull it up, the brake is set. Push it down, the brake is released.